Knowing How to Make Jello is a lot easier than it may seem. Whether you want to impress your friends with a delicious dessert, or be the life of the party with jello shots, jello can be used in many fun and delicious ways. In this step by step tutorial, you will learn the simple way to make boxed gelatin that takes just only a few short minutes.

SAVE THIS RECIPE!
Enter your email below and we’ll send this recipe straight to your inbox.
Knowing how to make jello is a delicious, inexpensive way that is easy to make a delicious and fun treat for the whole family. It is a great way to get creative in the kitchen. Customize with a variety of flavors and colors. Making it is not intimidating or difficult; it requires just a few simple ingredients and steps. In this article, we will provide a step-by-step guide on how to successfully make dessert at home.
Although gelatin is a dessert, you may be wondering if it is good for you. Healthline has all of the benefits and downsides of what comes with eating this tasty treat.
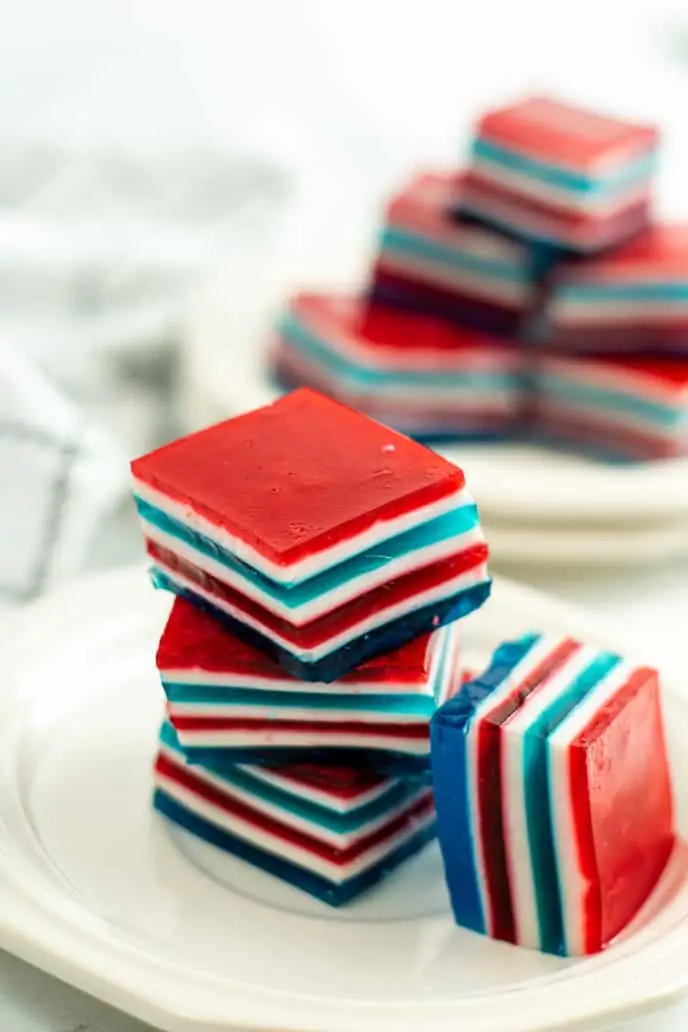
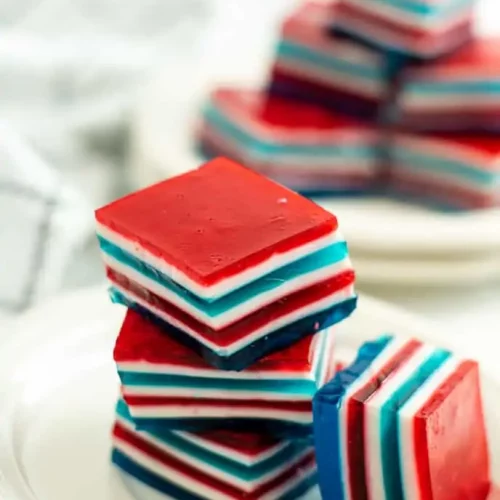
If you’re looking for recipes that use this fruity fun dessert, try these: Lime Jello Salad, Chocolate Jello Pudding Pie, and Patriotic Jello Poke Cake.
Why We Love this Fun Dessert
Versatile: Jello may seem like a one-trick pony, but it’s actually quite versatile. You can make it in many different flavors such as cherry, raspberry, orange, lime or grape. For those who love fruity desserts but want to keep things light and refreshing, it makes an excellent choice. Additionally, you can add fruit or whipped cream on top of your dish for an extra layer of flavor.
Freezer Friendly: The answer is yes, Jello can be put in the freezer. However, there are some things to keep in mind before freezing. Firstly, it’s essential to understand that freezing it can change its texture and consistency. When you freeze the dessert, the water molecules inside the dessert will expand and create ice crystals. As a result, the once smooth and jiggly texture of your dessert may become grainy or icy after freezing. Additionally, ingredients such as fruit pieces or whipped cream may lose their texture when frozen with the Jello.
Affordable: This dish can be quite affordable, depending on where you buy it and how much you need. If you’re looking to whip up some dessert for your next party or family gathering, there are several options available at your local grocery store. Generic store brands typically offer the best value and can cost as little as $0.50 per box. Name-brand varieties like Jell-O tend to be more expensive but often come with additional flavors and ingredients to choose from.
What is Jello?
Jello is a popular dessert millions of people around the world love. It is a gelatin-based confection that comes in various flavors and colors, making it a fun and tasty treat for all ages.
A fun fact about this dessert is that it was made in 1897 by Pearle Wait, who was looking for a way to make cough medicine more palatable. He combined gelatin with fruit syrup to create a product that he called and what we now know as “Jell-O.”
Types of Jello
- Regular: This is the classic type of jello that you might be familiar with. It comes in various flavors such as strawberry, raspberry, orange, and lemon.
- Sugar-Free: If you’re watching your calorie intake or have diabetes, sugar-free might be a good option for you. This type uses artificial sweeteners instead of sugar to give it its sweetness.
Benefits of Jello
- Versatility: One of the key benefits of the dessert is its versatility. It can be served as a light dessert after a heavy meal or as a sweet treat on its own. It can also be used to create fun and creative desserts like jello shots or layered parfaits. Its easy-to-make nature makes it a great option for busy families who want to whip up something quick and delicious.
- Low-calorie count: One of the most significant benefits of the treat is that it is low in calories, making it an ideal option for individuals who are watching their weight. With only 10-20 calories per serving, the snack provides a guilt-free indulgence.
- Nutritional: It is rich in collagen, a protein that plays an essential role in skin health. Consuming the dessert can help your skin look and feel younger because collagen provides the elasticity and firmness needed to maintain youthful-looking skin. It also contains glycine, an amino acid that helps with sleep and relaxation, contributing to better mental health.
How to Make Jello (from a box)
Making it is a simple and fun activity that can be enjoyed by people of all ages. With just a few ingredients you can create a colorful, delicious snack or dessert in minutes!
Jello is perfect for parties, picnics, potlucks, or even just as an after-school snack.
These are the basic steps for making jello from a box. Refer to the full, printable recipe card below for detailed instructions.

Step 1: Gather Materials
All you need to make boxed dessert is: water, a box of powdered gelatin, a mixing bowl, and a pan or mold!
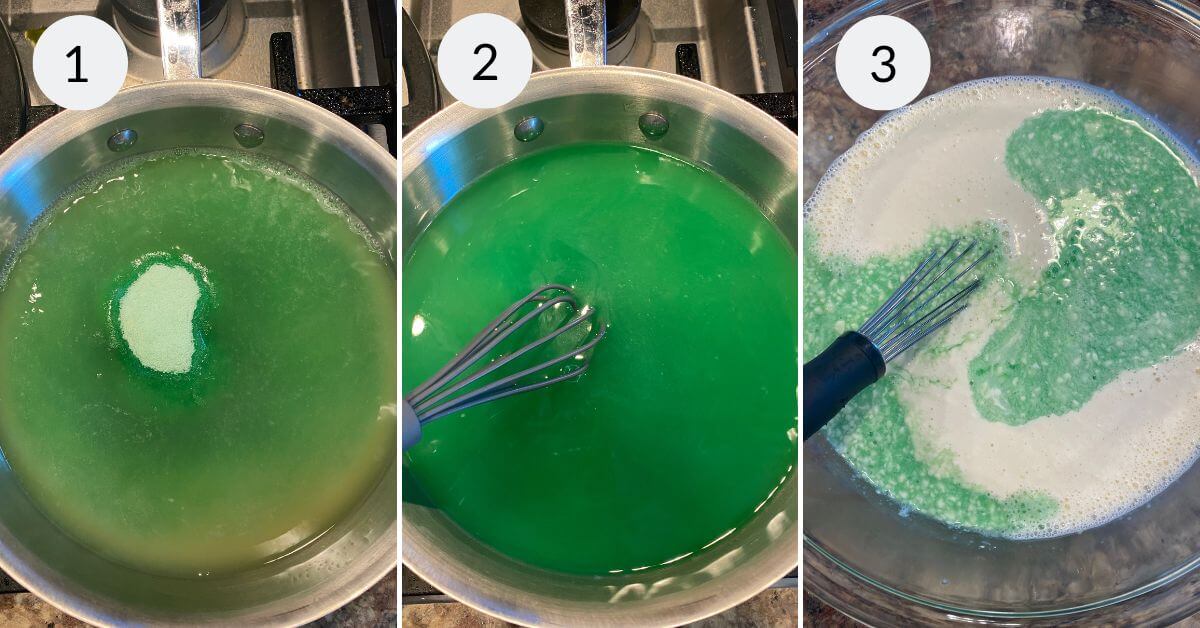
Step 2: Add Water
Once you pour your gelatin mix in to a mixing bowl, add 1 cup of boiling water and stir until the powder has completely dissolved.
You will then add 1 cup of cold water to the bowl and stir.
Step 3: Refrigerate
Once you pour your dissolved mix into a pan or mold, refrigerate uncovered for about 4 hours or until completely sold/firm.
Jello FAQs

Expert Tips for How to Make Jello
After your dessert is set in a mold, it may be difficult to get out without ruining it. With these tips, you’ll learn how to easily get out of a mold!
- Tip 1: Consider using cooking spray or vegetable oil to grease the inside of your mold before pouring in the mixture. This will help prevent it from sticking to the sides and bottom of the mold.
- Tip 2: Try dipping the bottom of your mold in hot water for 10-15 seconds before attempting to remove it. The heat will help loosen any stubborn spots that may be holding on to the dessert.
- Tip 3: Another simple, but effective technique is sliding a thin knife around the edge of your mold to separate it from the sides.
Jello Recipes to Try
⭐️ ⭐️ ⭐️ ⭐️ ⭐️
Did you try this?
Please leave a star rating and review below!
How to Make Jello (from a box)
Equipment
Materials
- 1 box jello
Instructions
- Step 1: Gather MaterialsAll you need to make boxed jello is: water, a box of powdered gelatin, a mixing bowl, and a pan or mold!
- Step 2: Add WaterOnce you pour your gelatin mix into a mixing bowl, add 1 cup of boiling water and stir until the powder has completely dissolved.You will then add 1 cup of cold water to the bowl and stir.
- Step 3: RefrigerateOnce you pour your dissolved mix into a pan or mold, refrigerate uncovered for about 4 hours or until completely sold/firm.
Expert Tips
Expert Tips for How to Make Jello
After your Jello is set in a mold, it may be difficult to get out without ruining it. With these tips, you’ll learn how to easily get Jello out of a mold!- Tip 1: Consider using cooking spray or vegetable oil to grease the inside of your jello mold before pouring in the mixture. This will help prevent the jello from sticking to the sides and bottom of the mold.
- Tip 2: Try dipping the bottom of your mold in hot water for 10-15 seconds before attempting to remove it. The heat will help loosen any stubborn spots that may be holding on to the jello.
- Tip 3: Another simple, but effective technique is sliding a thin knife around the edge of your jello mold to separate it from the sides.
The stupidest recipe I’ve ever seen.