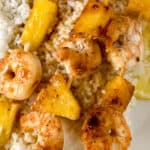
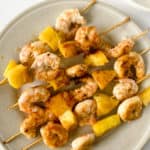
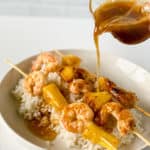
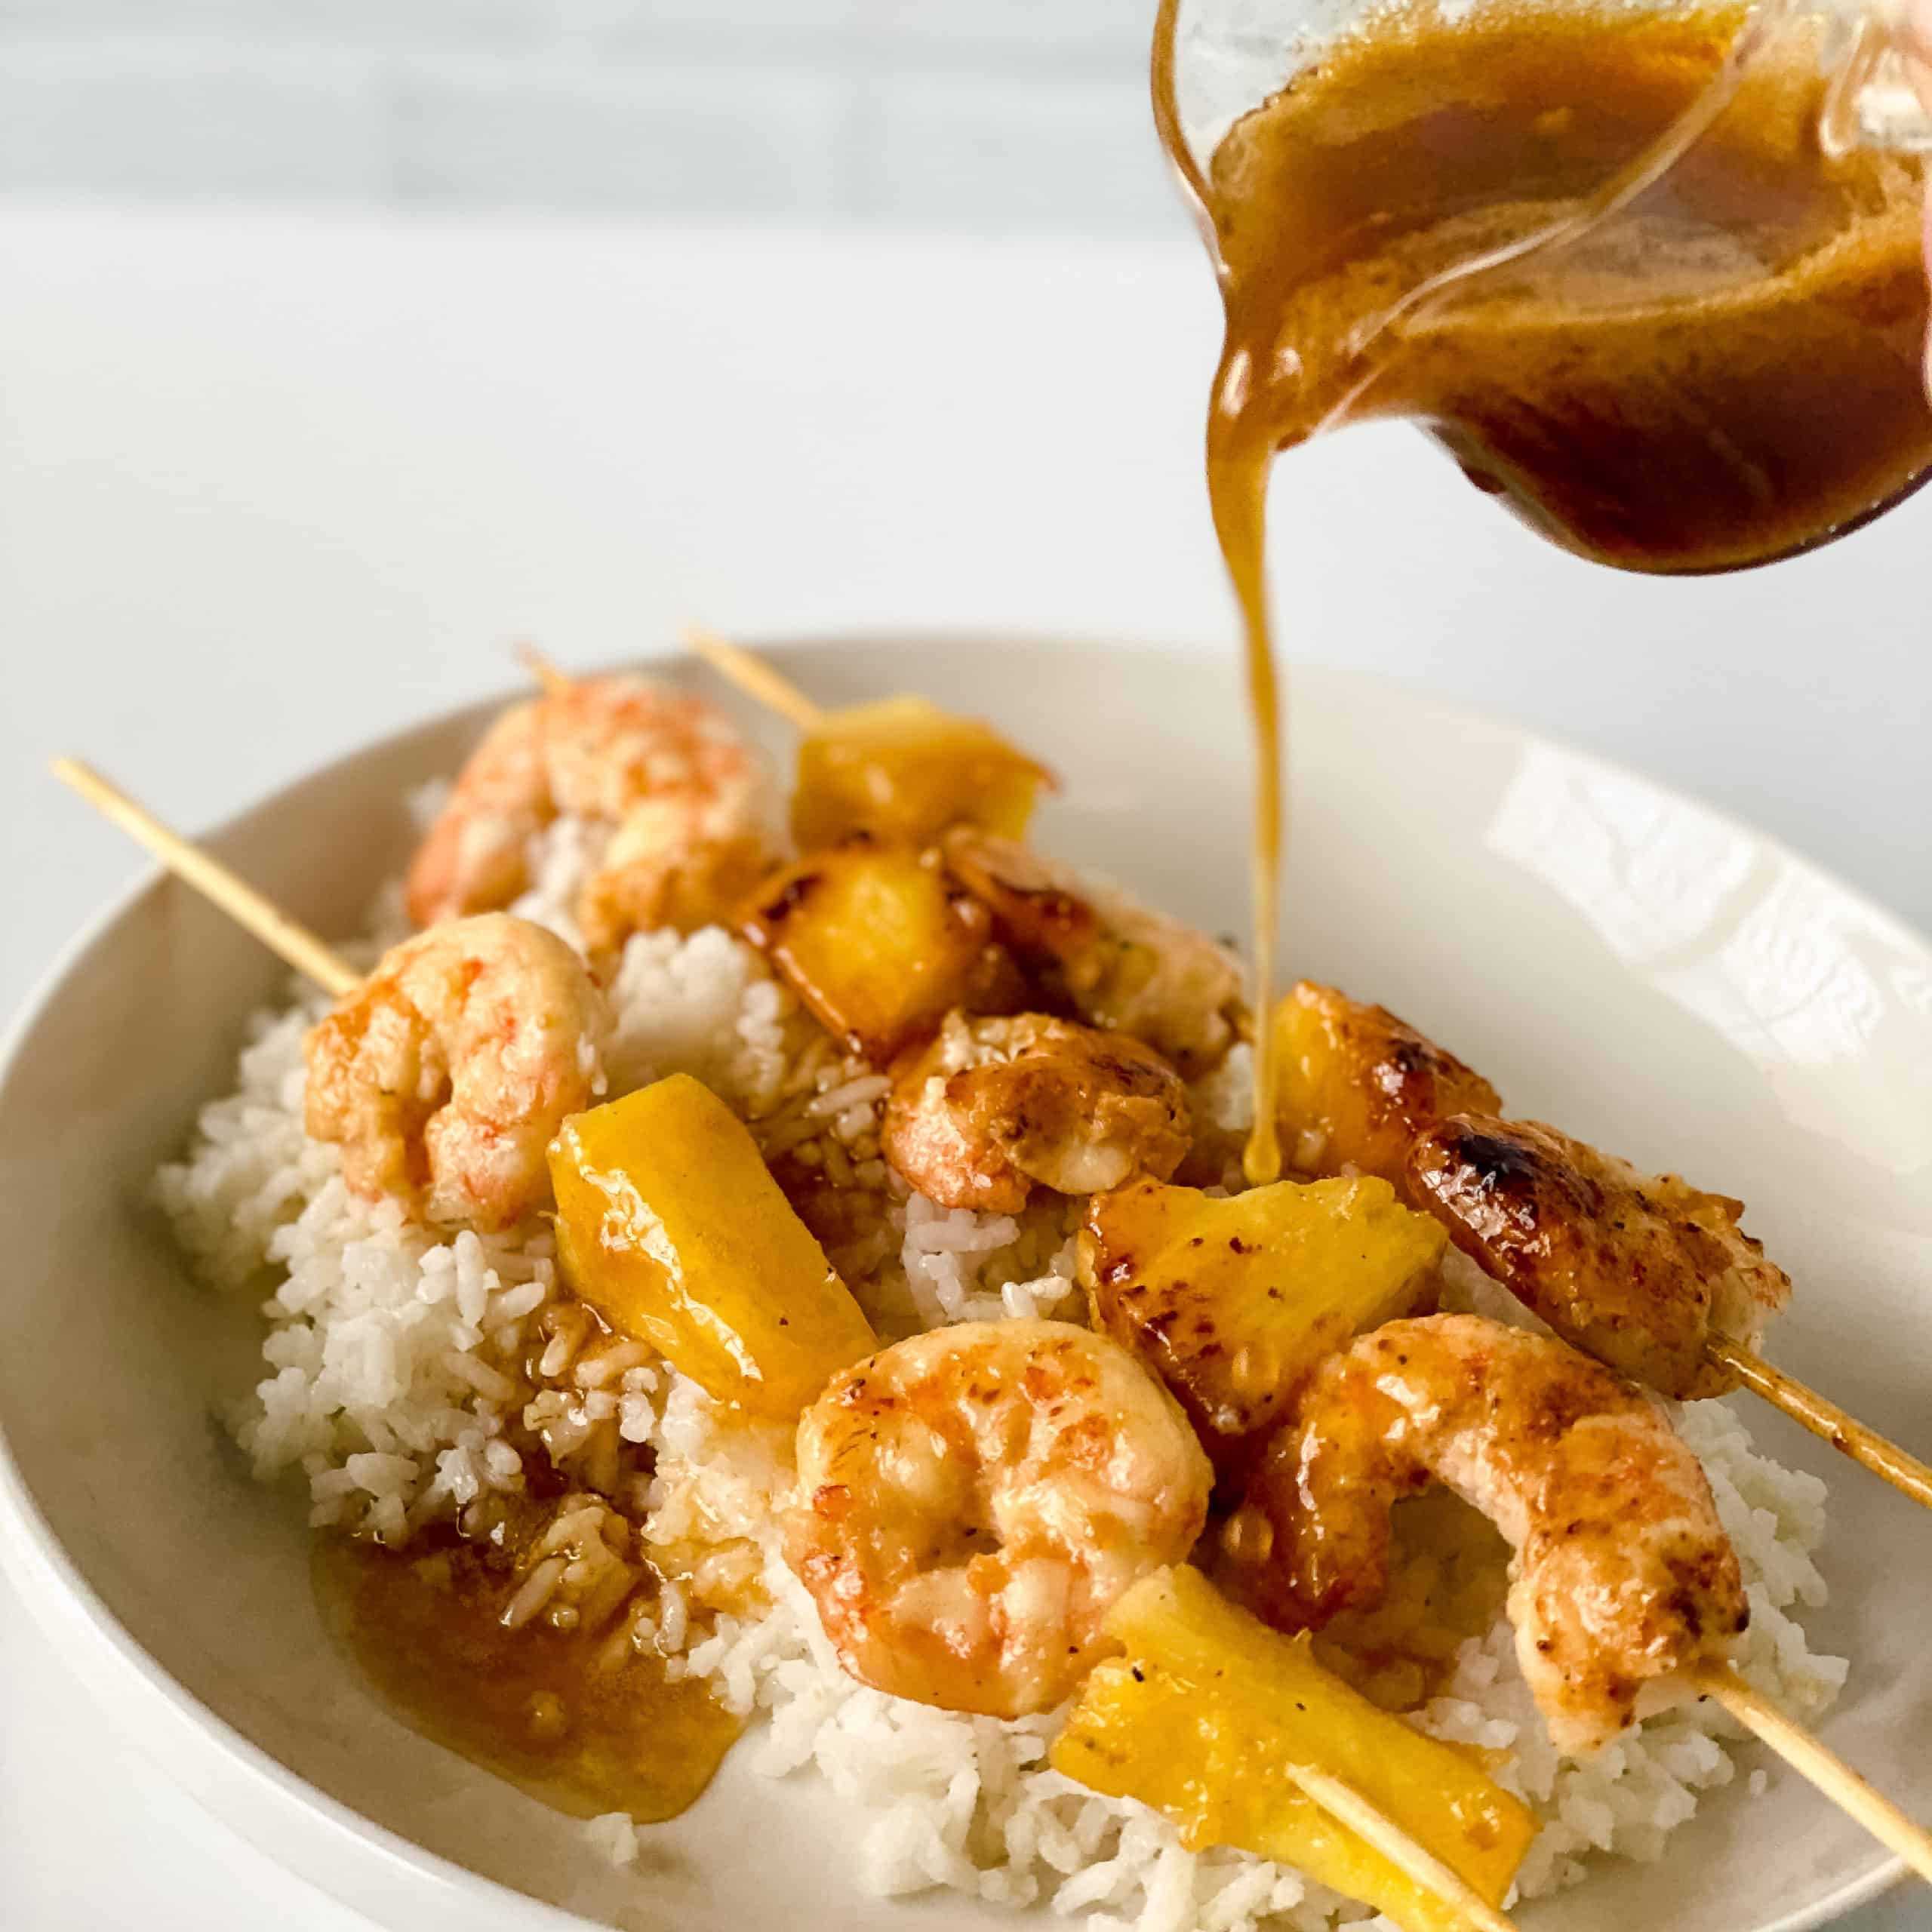
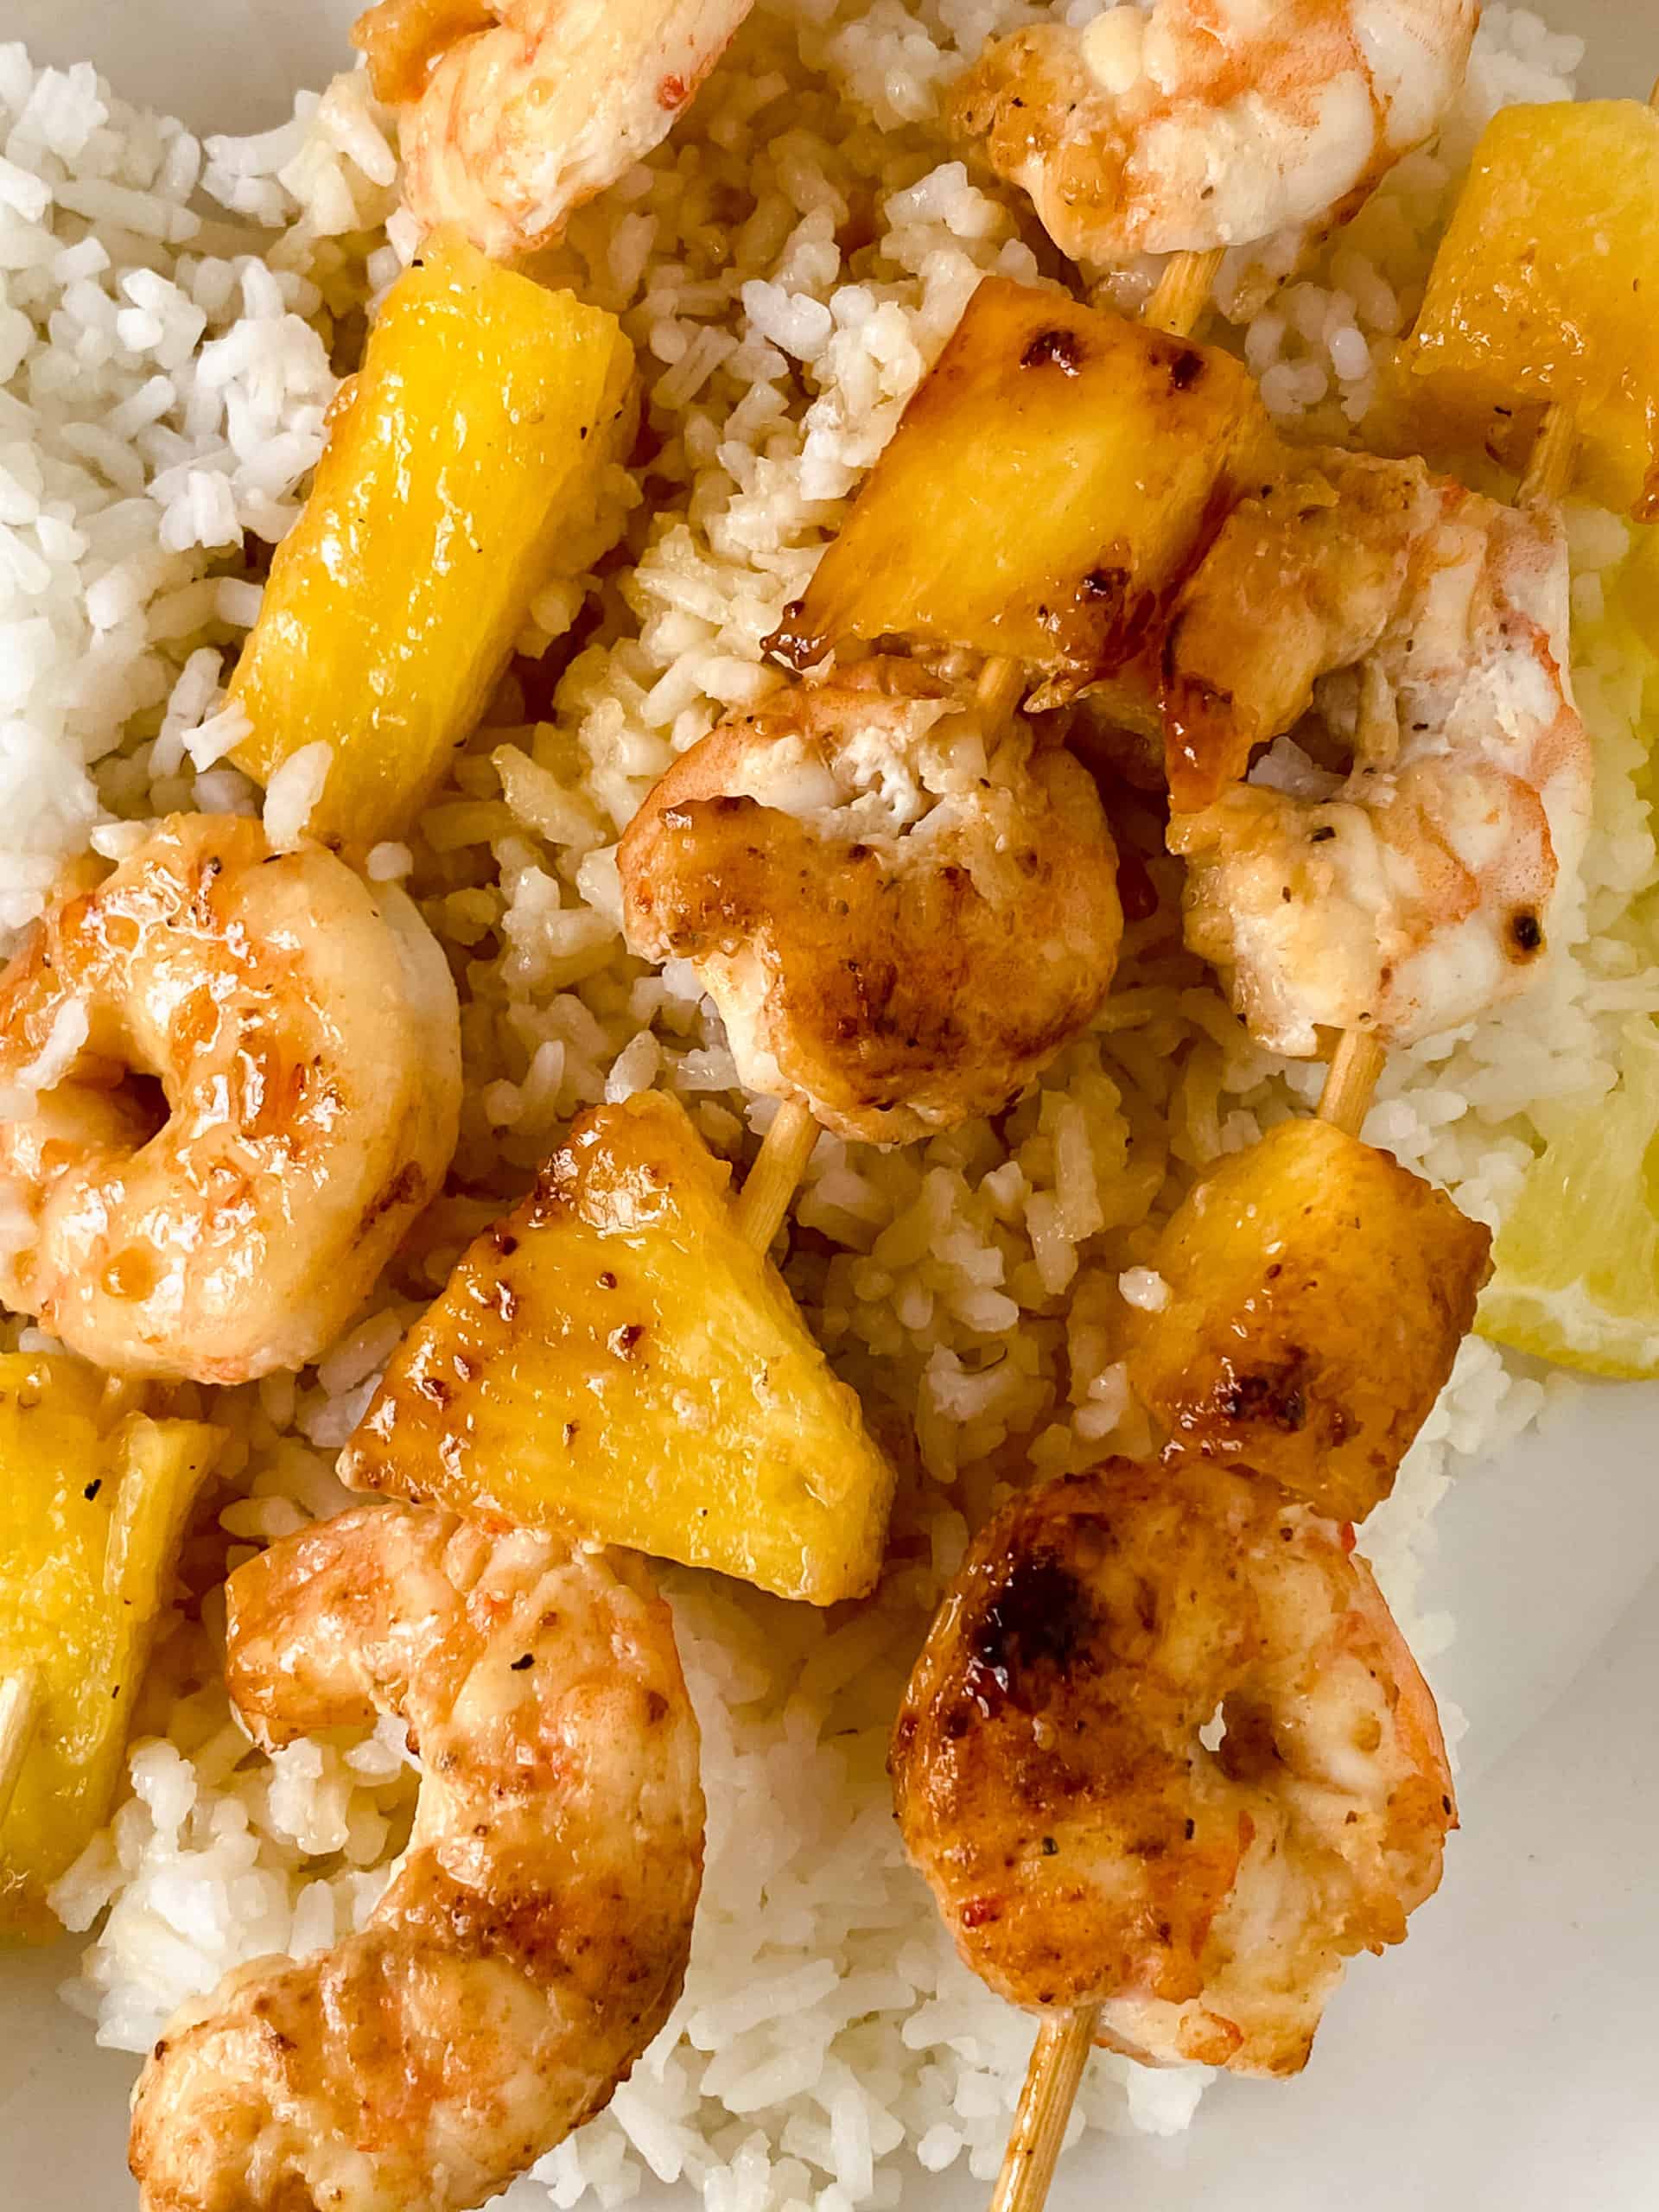
Hawaiian Garlic Shrimp Skewers are the perfect way to feel it is summer all year round. This recipe is amazing and easy. Tender shrimp, juicy, sweet pineapple and that slight bite of garlic for balance.
SAVE THIS RECIPE!
Enter your email below and we’ll send this recipe straight to your inbox.
The Hawaiian Garlic Shrimp Skewers dish is great to serve any day of the week, any time of the year because you can make it on the stove in a pan or on the grill in the warm months.
Shrimp is not native to Hawaii, however it is very prevalent in all their dishes, find out more here.
- 20 Minute Meal: No need to marinate, this is a quick easy meal.
- Easy Ingredients: Great meal because most of the ingredients are pantry staples,y ou just need to grab a few quick things.
- Family Friendly: Kids love to eat things on sticks and the tropical feel makes this special.
- Makes Great Leftovers: Perfect on it’s own or add to a salad the next day.
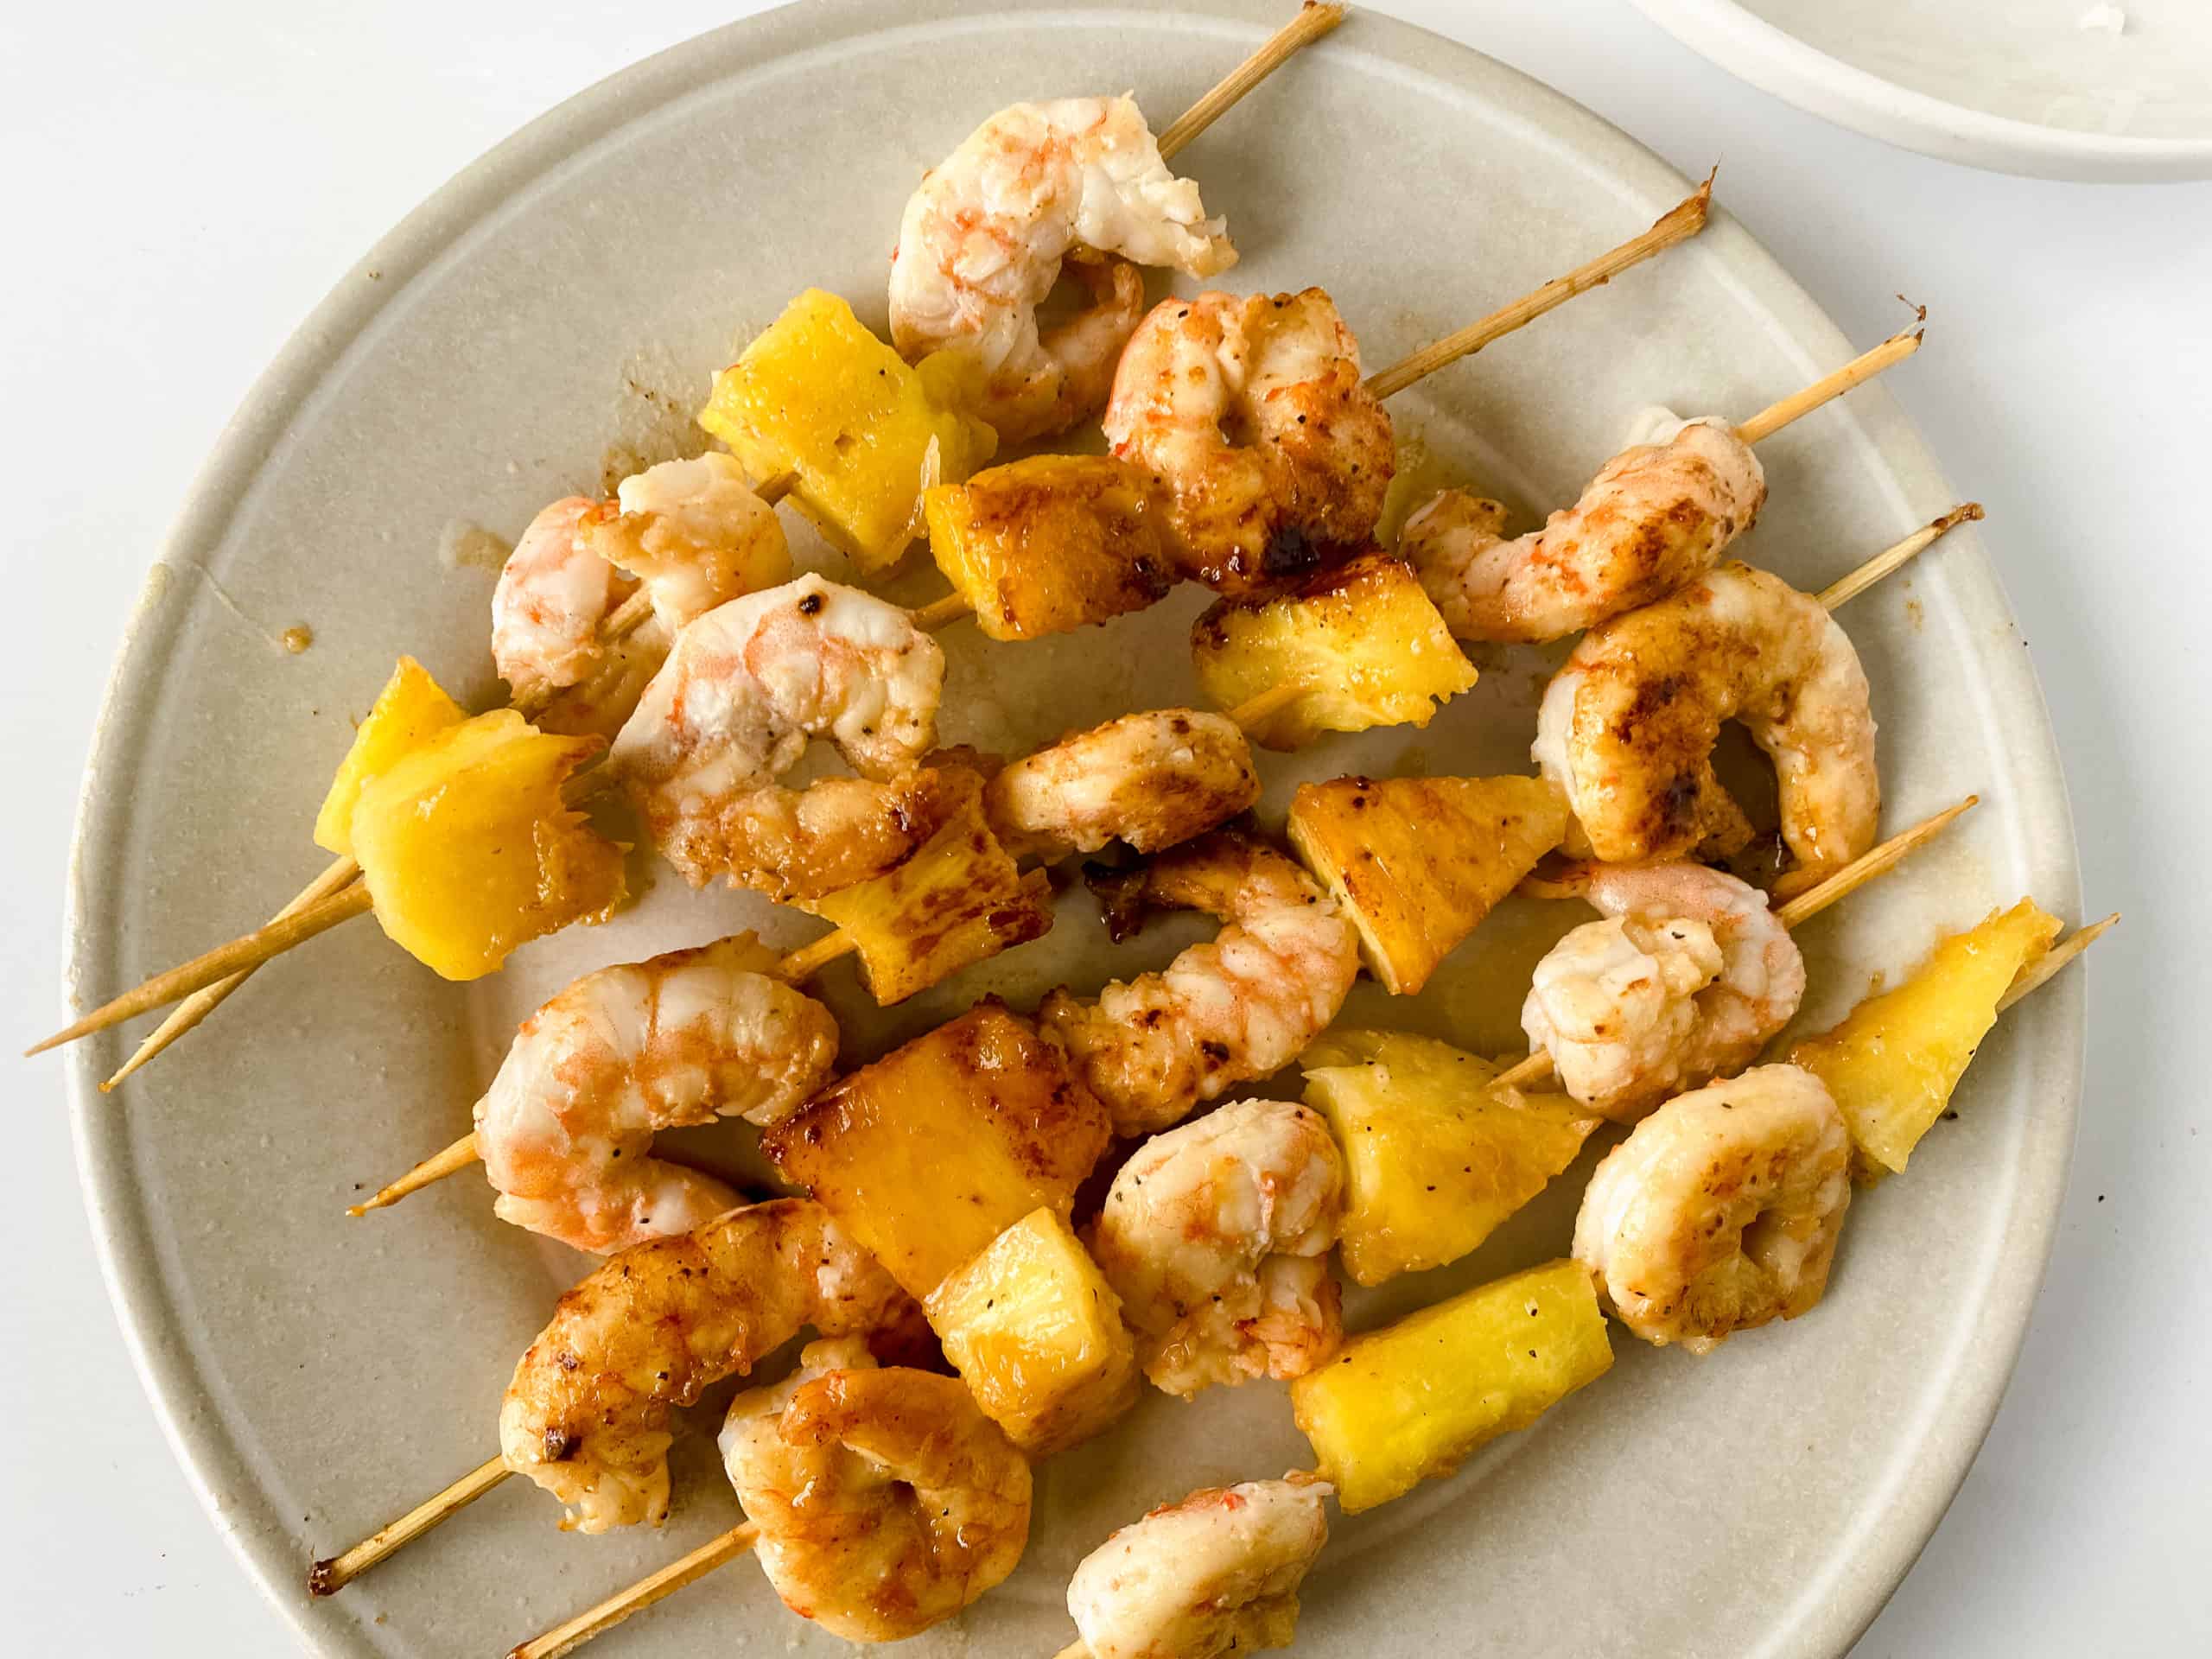
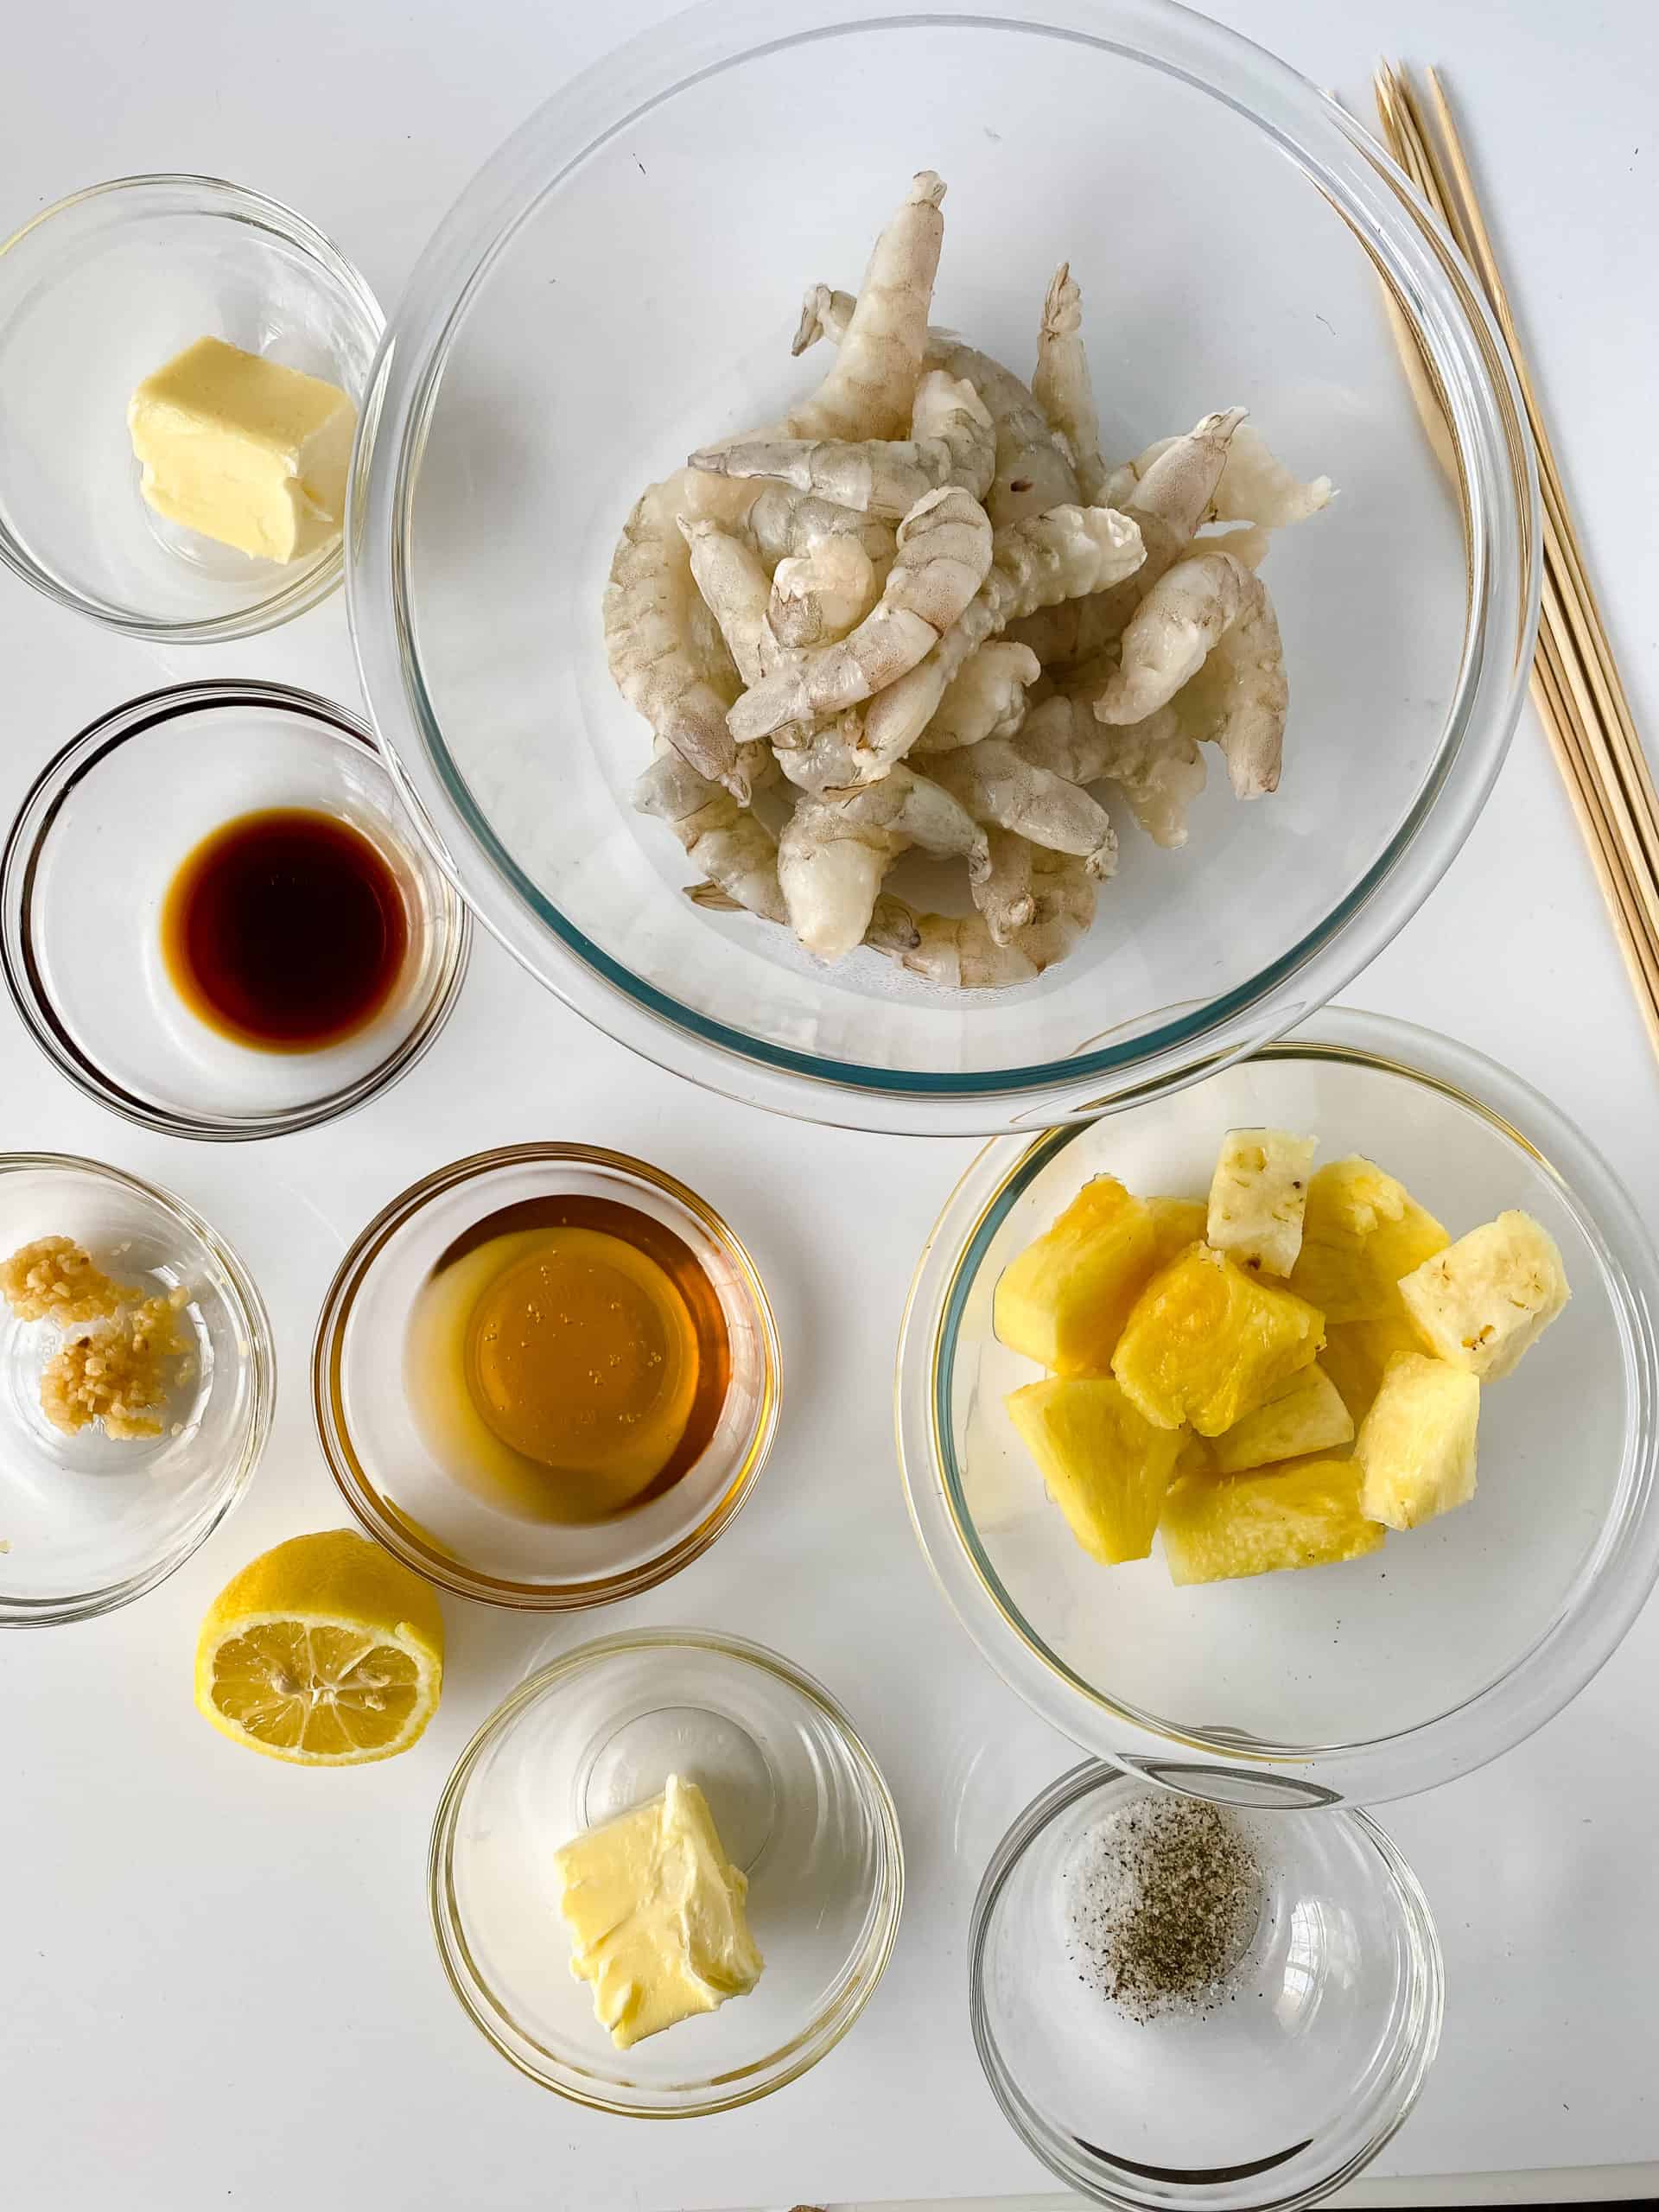
What You Need to Make Garlic Shrimp
Ingredients
- unsalted butter
- honey
- garlic
- soy sauce
- lemon juice
- shrimp
- Sea salt
- pepper
- pineapple
- parsley, optional
Equipment
How to Make Hawaiian Shrimp- Step by Step
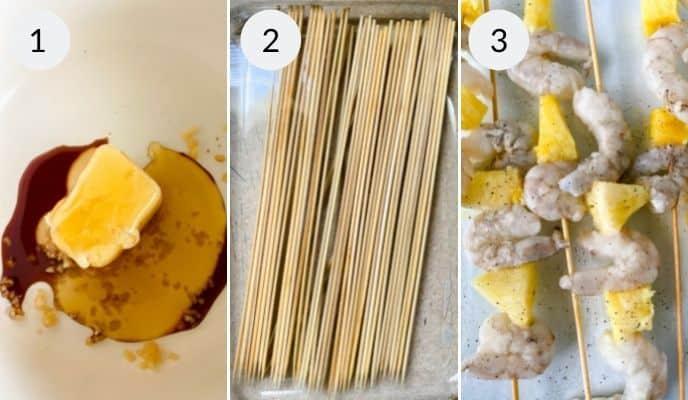
- Make Sauce: First, heat 2 of the 3 tablespoons of unsalted butter, honey, garlic, and soy sauce over medium heat and then stir until combined and then allow to simmer for 4-5 mins until thickened.
- Remove: Second, remove from heat and stir in lemon juice.
- Skewer: Place the shrimp and pineapple pieces, alternating them on the skewers. Season with salt and pepper on both sides.
- Brush: Next, brush the sauce on both sides of the skewers.
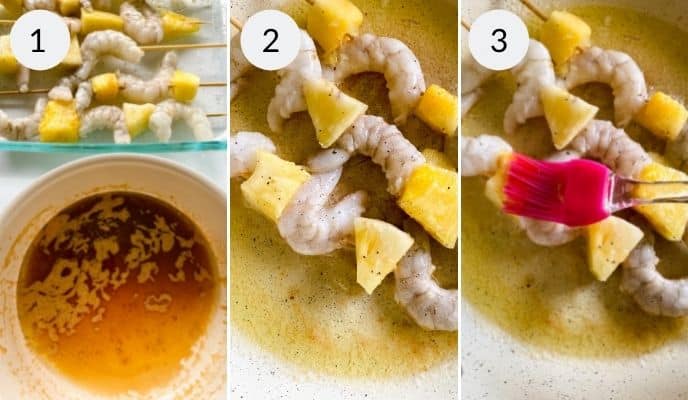
- Cook In a large pan melt butter over medium heat. Sear the skewers for 3-4 mins per side, brushing sauce on the skewers as it cools. Skewers are ready when the shrimp is pink and not opaque.
LOOKING FOR MORE SHRIMP RECIPES TRY THESE FAVORITES:
- Creamy Garlic Shrimp and Rice
- Bang Bang Shrimp
- Shrimp Tacos with Boom Boom Sauce
- 15 Minute Shrimp Alfredo
Looking for more? Check out all of the quick and easy recipes on It Is a Keeper.
Common Questions About Grilled Shrimp Skewers
Taste of Home recommends the perfect size for grilling is large (26–30 shrimp per pound). They’re big enough to not fall through the grill grates, yet small enough to be tender and juicy.
The best size for the pineapple is bite size pieces. They will cook at the same rate as the shrimp so that they are done together. A great tool to cut pineapple is this corer.
It seems like it would be easy but there is an easy way. A great tutorial is here. Simply add the pineapple to skewers as well.
Indeed, simply increase you ingredients and cook in batches or if grilling, all at the same time. Alternatively half the ingredients for less.
Make the sauce, core the pineapple and clean shrimp ahead of time and then assemble and cook when you are ready.
Yes, you can use thawed frozen shrimp for this recipe. Remember to use a peeled and deveined shrimp to save time.
Shrimp like thi can be served with anything you enjoy. For example:
>Perfect Brown Rice
>Parmesan Cauliflower Rice
>The Perfect Risotto
>Garlic Roasted Carrots
>Easy Sesame Noodles
Expert Tips for Making Garlic Shrimp Skewers
- Wooden Skewers: If you are using wooden skewers, soak the skewers for 20-25 mins for best results.
- Brine: Soak the shrimp in salted water with a little baking soda. This will make the shrimp plump and tender.
- Milk: Soaking shrimp in milk will allow that fishy taste to come out. so if you hate that flavor try this.
- Rubbery: Shrimp is done when it turns that slight pink color. remove them immediately from heat to prevent that rubbery texture.
- Alternate cooking method tip: These skewers are wonderful on the grill.
- Cooking Tip: Do not overcrowd the pan. give them room for the heat to distribute evenly.
⭐⭐⭐ RATE THIS RECIPE ⭐⭐⭐
If you’ve tried this recipe, please rate it in the comment section below.
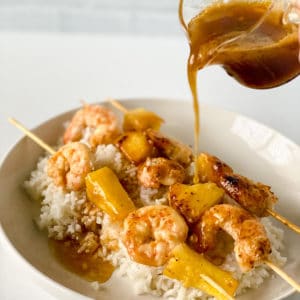
Hawaiian Garlic Shrimp Skewers
Ingredients
- 2 tablespoons unsalted butter
- ¼ cup honey
- 4 garlic, large cloves
- 2 tablespoon low sodium soy sauce
- 1 tablespoon lemon juice, fresh
- 1 tablespoon butter
- 1 pound shrimp
- ½ tsp Sea salt
- ¼ tsp cracked pepper
- 1 cup chopped pineapple, fresh
- 2 tablespoons chopped parsley, optional
Instructions
- Submerge the skewers in water while prepping other ingredients
- Heat 2 of the 3 tablespoons of unsalted butter, honey, garlic, and soy sauce over medium heat.
- Stir until well combined, bring to a slight boil, and then allow to simmer for 4-5 mins until thick- ened.
- Remove from heat and stir in lemon juice.
- Place the shrimp and pineapple pieces, alternating them on the skewers. Season with salt and pepper on both sides.
- Brush the sauce on both sides of the skewers
- In a large pan melt 1-2 tablespoons of unsalted butter over medium heat.
- Sear the skewers for 3-4 mins per side, brushing sauce on the skewers as it cools. Skewers are ready when the shrimp is pink and not opaque.
Expert Tips
- Wooden Skewers: If you are using wooden skewers, soak the skewers for 20-25 mins for best results.
- Brine: Soak the shrimp in salted water with a little baking soda. This will make the shrimp plump and tender.
- Milk: Soaking shrimp in milk will allow that fishy taste to come out. so if you hate that flavor try this.
- Rubbery: Shrimp is done when it turns that slight pink color. remove them immediately from heat to prevent that rubbery texture.
- Alternate cooking method tip: These skewers are wonderful on the grill.
- Cooking Tip: Do not overcrowd the pan. give them room for the heat to distribute evenly.
Estimated Nutritional Information
The nutritional information provided are estimates. To learn more about how I calculate this information go to www.itisakeeper.com/about-its-a-keeper/privacy-disclosure-policies/
RECIPES YOU MIGHT HAVE MISSED
This recipe is my personal adaption of an ethnic-inspired recipe. It is not intended to be an authentic recipe. I’ve recreated this recipe because I enjoy the flavors and I want to encourage my readers to expand their tastes and try new flavor combinations. The recipe, ingredients, and processes may have been adapted to make the recipe accessible to the average American. I have provided links to authentic versions of the recipe in the post above. I encourage you to visit these pages and learn more about the traditional version(s) of this recipe.

