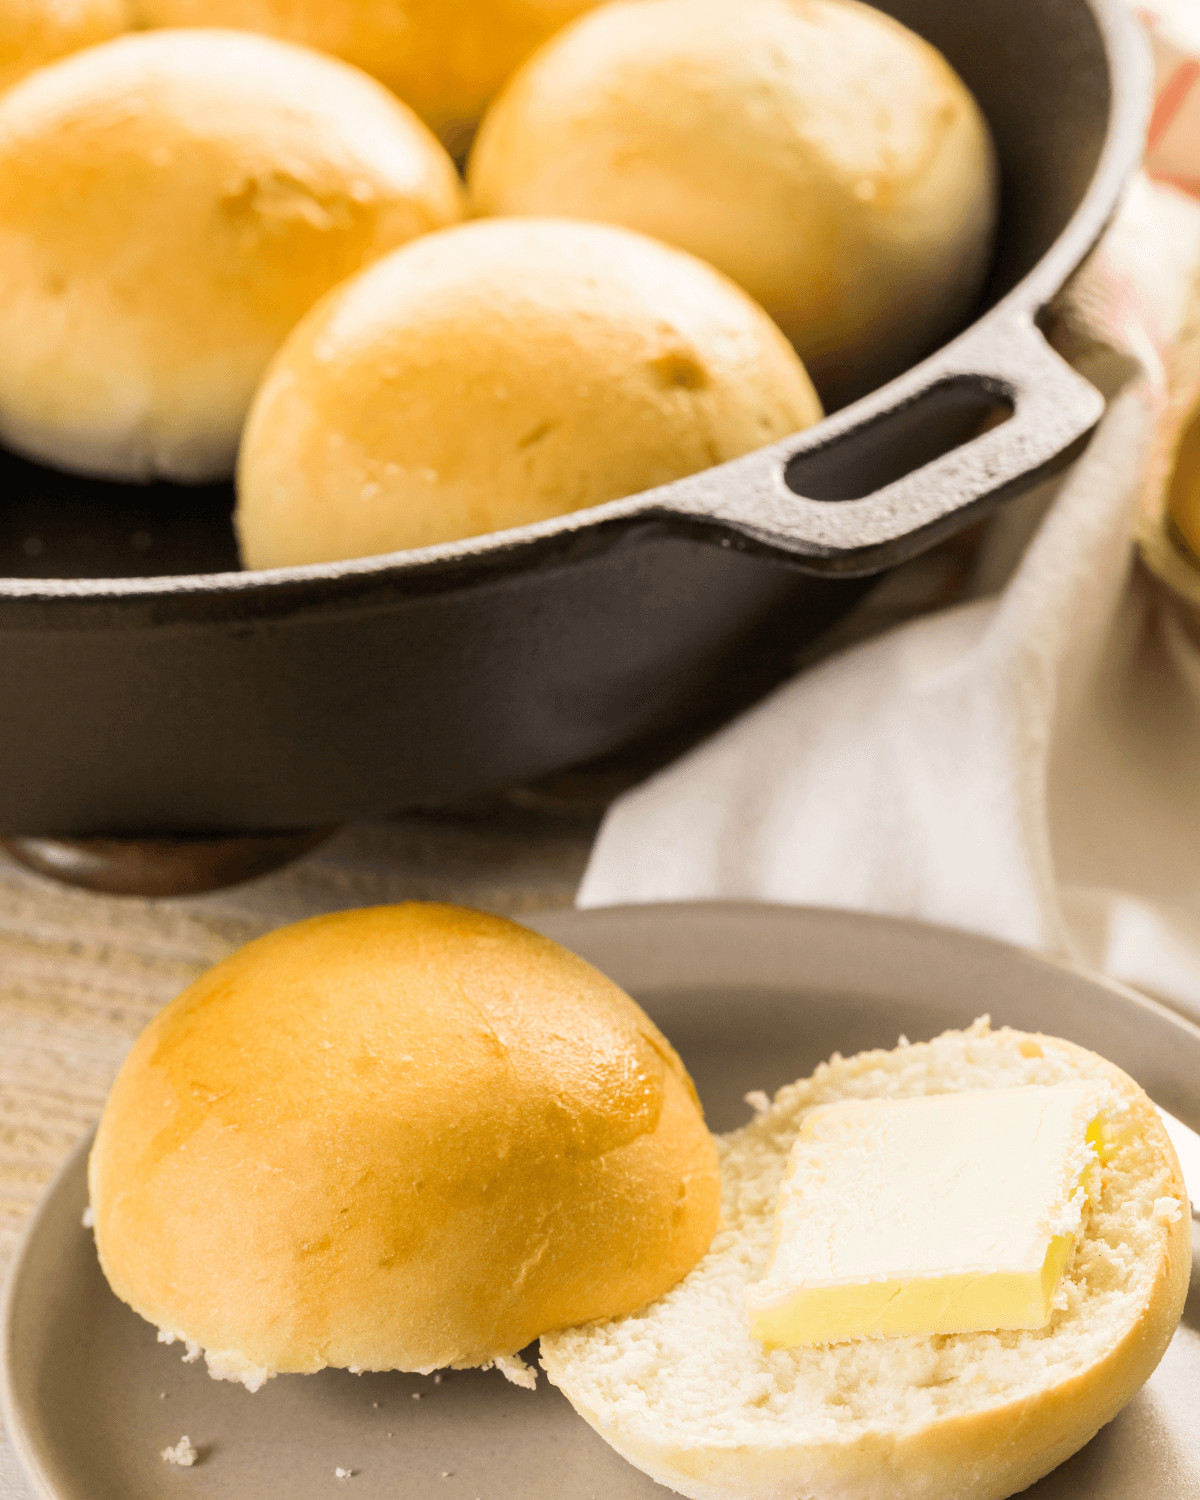
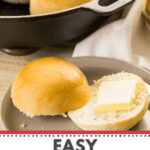
Easy No Knead Rolls are the ultimate shortcut to delicious homemade rolls without any of the hassle. The homemade dinner rolls have a sweet outside and a soft, tender inside. With just a few simple ingredients and minimal effort, you can achieve this culinary masterpiece.
SAVE THIS RECIPE!
Enter your email below and we’ll send this recipe straight to your inbox.
These Easy No Knead Rolls are the ultimate time-saving solution without sacrificing on taste or texture. With only a handful of easy ingredients, this recipe is perfect for busy weeknights or whenever the craving for soft, buttery rolls strikes. Say goodbye to kneading and hello to simplicity with this recipe that’s perfect for both beginners and seasoned bakers.
If you’re looking for more bread recipes, try these Instant Pot Garlic Parmesan Monkey Bread, Pull Apart Pizza Bread and Homemade Garlic Bread from Scratch.
Why We Love This Recipe for Soft Dinner Rolls
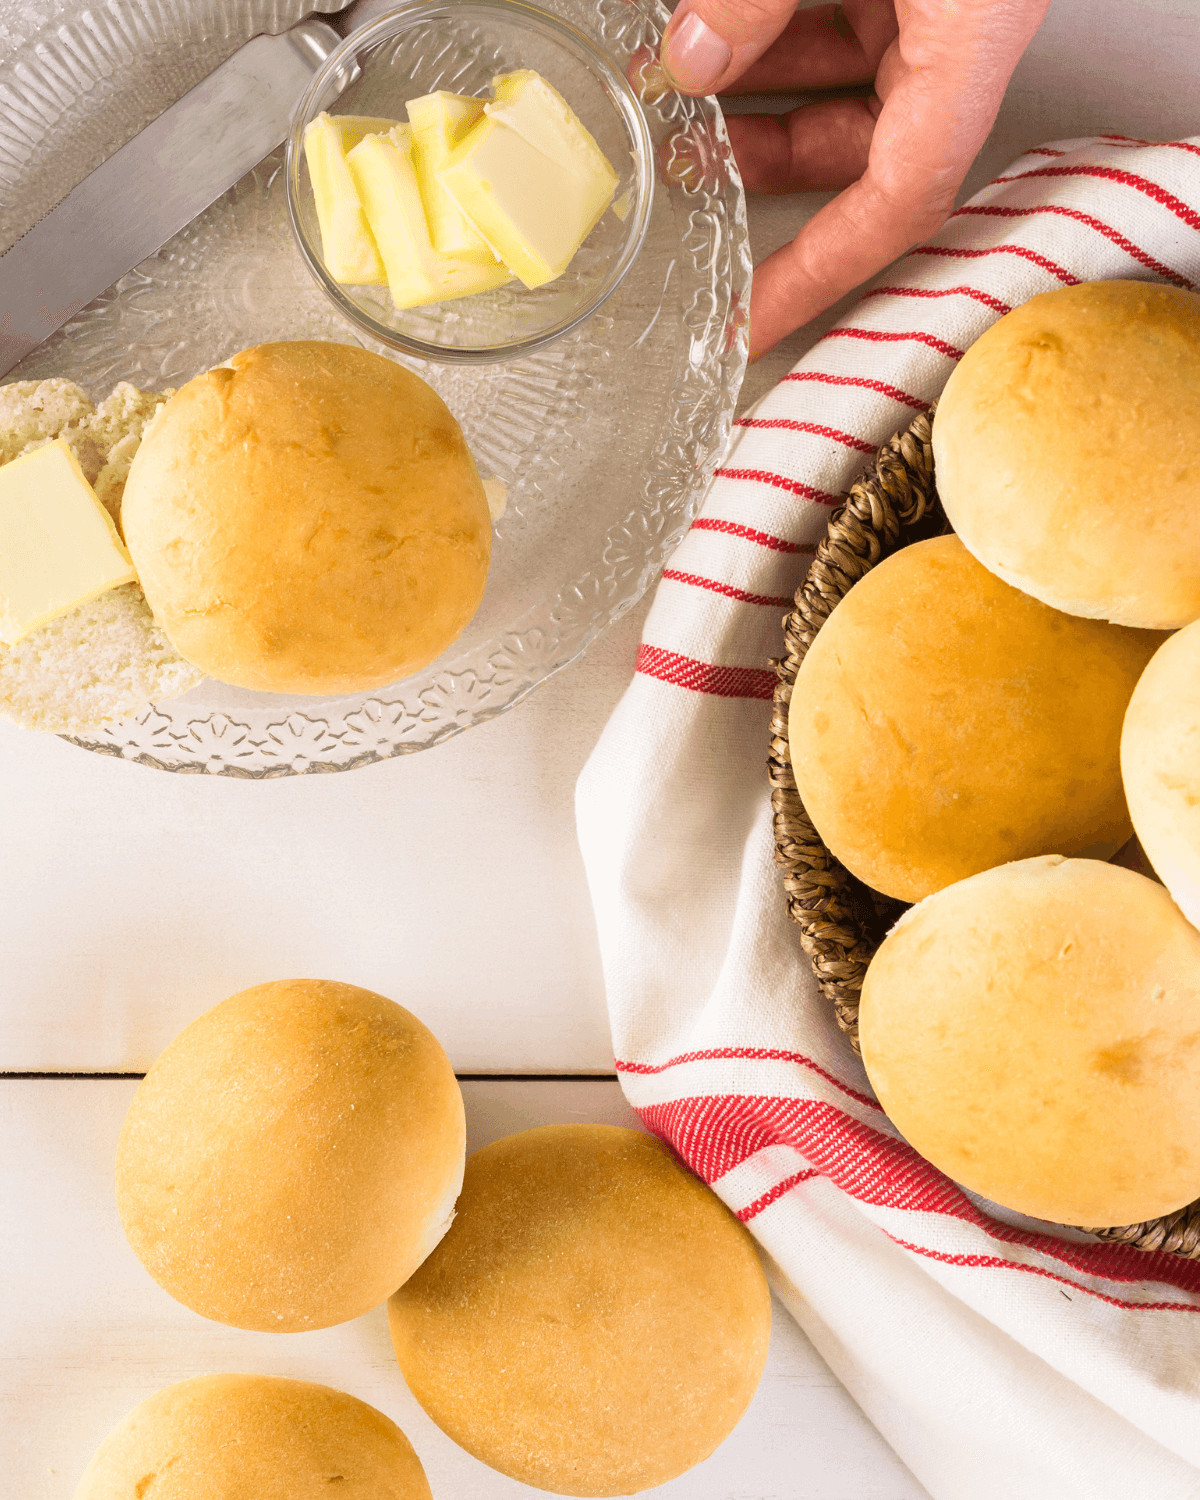
This recipe for soft dinner rolls has captured our hearts and earned its place as a beloved family favorite. From its simplicity and time-saving techniques to its versatile nature, let’s explore the unique qualities that make this yeast bread recipe stand out. This is one of the easiest recipe to make the rolls for any special dinner as they come out great every time. Lovely soft and fluffy dinner rolls that are crusty on the outside.
- No Kneading: This recipe simplifies the bread-making process, making it perfect for beginners or anyone short on time. This bread baking will fill the house with a wonderful aroma and perfect for Christmas dinner.
- Easy Ingredients: With simple pantry staples like bread flour, instant yeast, eggs, honey, and butter, you won’t need to make a special trip to the store.
- Family Friendly: These yeast dinner rolls are a hit with both kids and adults. Their soft texture and subtly sweet flavor make them a versatile addition to any meal.
Ingredient Notes for No Knead Crusty Rolls with Yeast
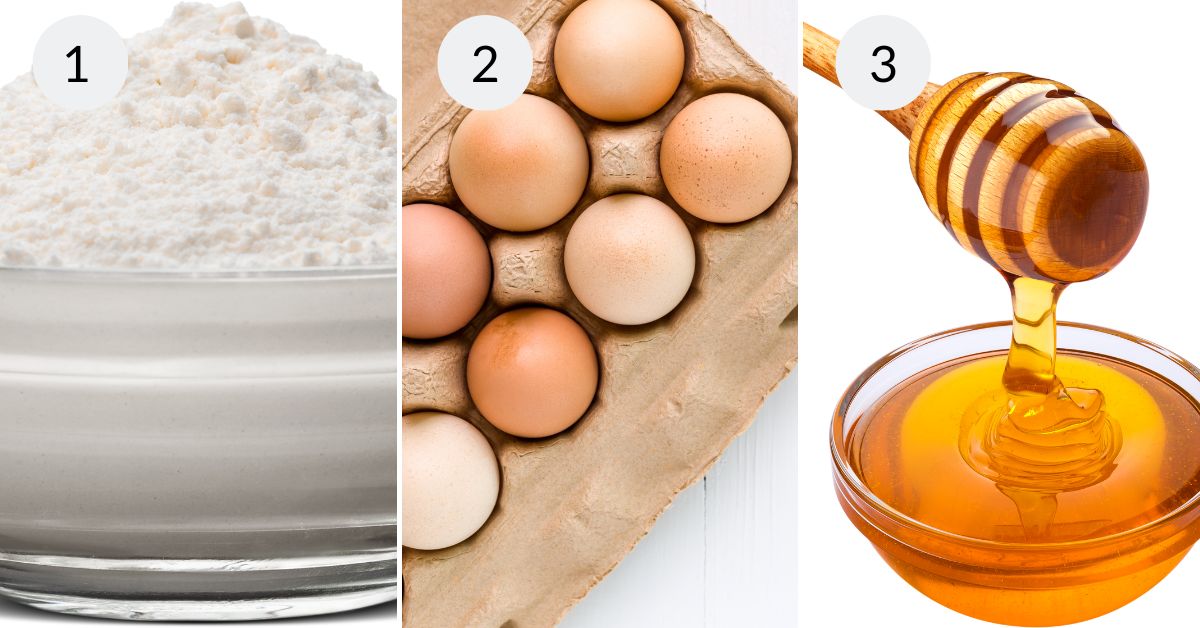
- Bread Flour: This recipe uses bread flour for its higher protein content, which results in soft and fluffy yeast rolls.
- Instant Yeast: One tablespoon of active dry yeast is a time-saver as it doesn’t require proofing. It helps the rolls rise quickly, so you can enjoy the bread sooner.
- Eggs: Eggs add richness and a tender crumb to the rolls.
- Honey: Honey not only sweetens the rolls but also adds a subtle, natural sweetness that complements various dishes.
- Butter: Butter adds flavor and richness to the rolls, making the no-knead dinner rolls extra indulgent.
See the recipe card below for a complete list of the ingredients with measurements.
Variations and Substitutions for Soft No Knead Yeast Rolls
Dive into the world of culinary creativity with our variations and creative twists for these easy no knead rolls. These homemade bread rolls are delicious and tender.
- Add Cheese: Try adding cheese to the bread for an extra layer of flavor and creaminess. It’s a delightful twist that your family will love.
How to Make No Knead Bread Recipe
These are the basic steps for making No Knead Bread Recipe. Refer to the full, printable recipe card below for detailed instructions.
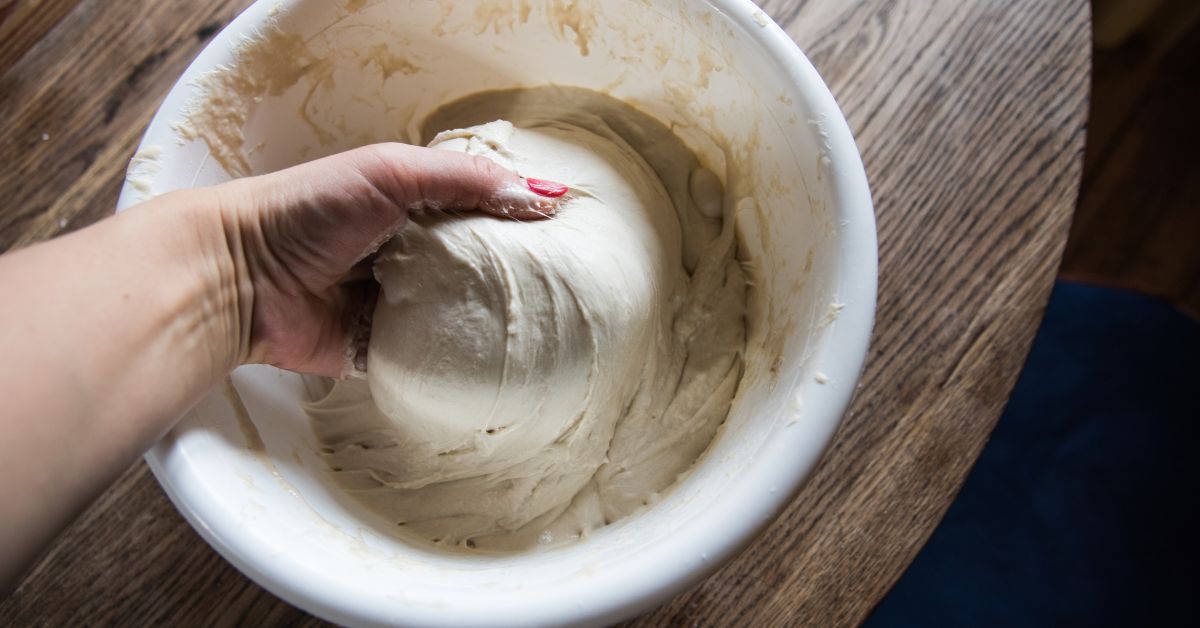
Step 1: Make Yeast Mixture, Dough for this Easy Recipe
In a large mixing bowl, combine flour, sugar, yeast, salt, and beaten eggs. In another small bowl, mix room temperature milk and melted butter. Gently fold the milk mixture into the flour mixture until a smooth ball of dough forms. I like to use a wooden spoon. Be careful not to use water that is too hot. It will kill the yeast.
Step 2: Forming the Rolls
Use your hands or a spatula to fold the edges of the dough toward the center, and form the dough into balls. Cover the bowl with plastic wrap or parchment paper and let rise until it doubles in size, this will usually take about 2 hours.
Step 3: Divide the Bread Dough, Shape the Rolls and Place Doughs Balls in Skillet
Once the dough has risen, transfer it to a lightly floured surface and divide the dinner roll dough into small balls. Shape and roll the dough into rounds and place the rolls directly in a greased skillet. Arrange the rolls in the skillet and let them rise in a warm place for about an hour, or until they’ve doubled in size.
Step 4: Preheated Oven, Bake the No-Knead Dinner Rolls Recipe and Allow to Cool
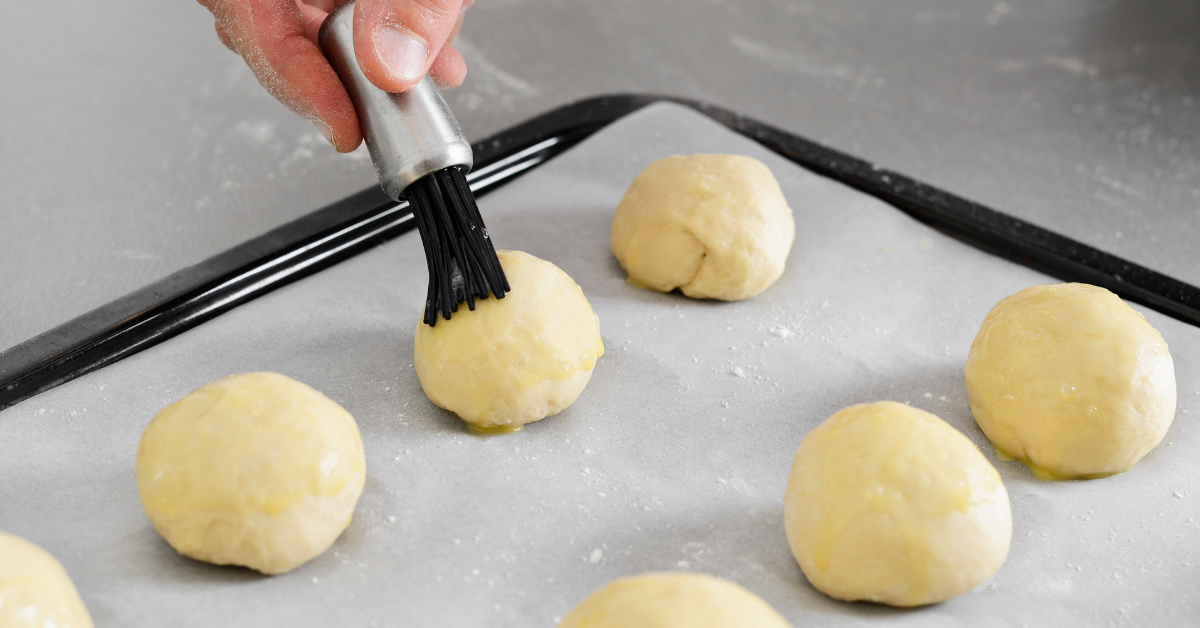
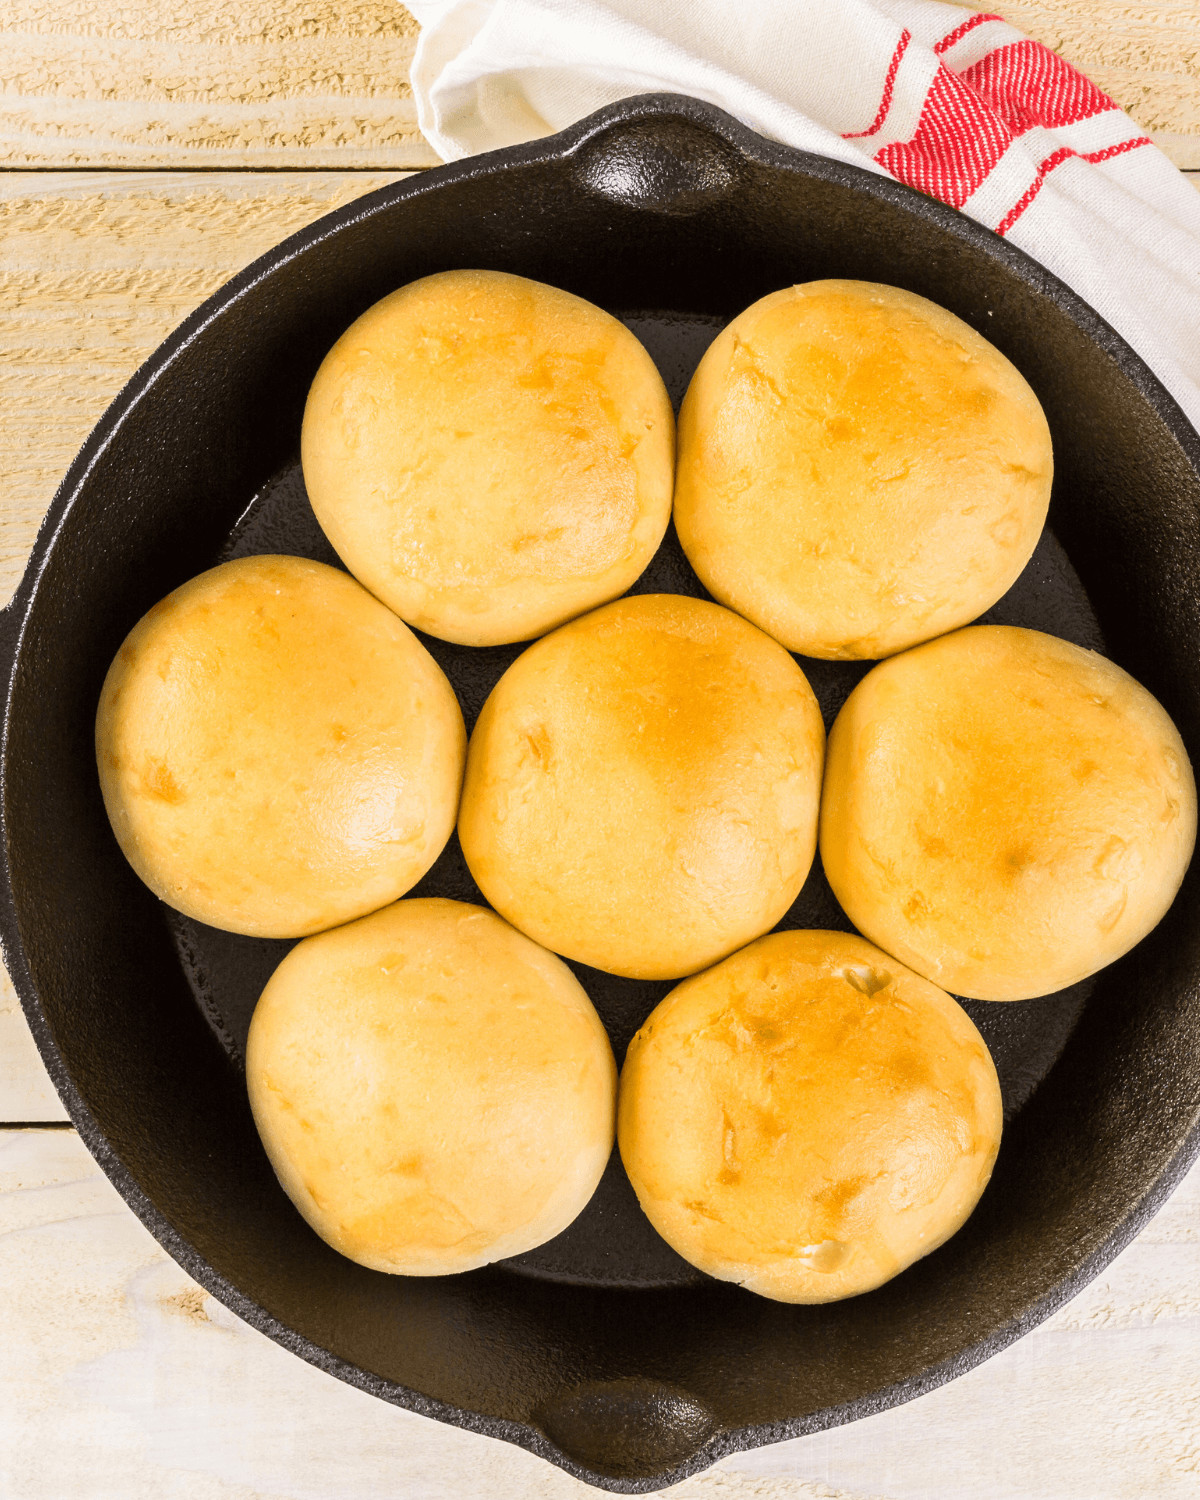
Preheat the oven to 350 degrees F. Brush the rolls with an egg wash and bake for about 25 minutes or until rolls are golden brown crust. Remove from oven and when rolls come out of the oven allow to cool in the skillet for about 15 minutes.
Step 5: Brush the Top with Honey Glaze
While the rolls cool, prepare the honey glaze by mixing honey and melted butter. Brush the honey butter glaze over the surface of the rolls for a touch of sweetness.
Recipe FAQs for No-knead Bread Rolls
Expert Tips for Making This No Knead Dinner Roll Recipe
These insights will ensure your rolls turn out soft, flavorful, and utterly irresistible. Whether you’re a seasoned baker or a novice in the kitchen, these tips will take your no knead dinner roll recipe to the next level.
- Cinnamon Honey Butter: Serve these rolls with this delicious cinnamon honey butter for an extra treat for the bread rolls.
- More Uses: Don’t limit yourself to dinner buns. This dough is versatile and great for making pizza and focaccia too.
- Oven Thermometer: Invest in an oven thermometer to ensure your oven cooks at the correct temperature for perfect results when you make these rolls.
- Yeast: Use fresh yeast when you make the dough. This will help you make the best recipe for homemade rolls. Bad yeast may take the rolls longer to rise or may not rise at all.
- Use it For More: This dough is great for pizza and focaccia too.
What to Serve with Easy No Knead Rolls
No Knead Easy Dinner Rolls
Ingredients
- 1 pound Bread flour
- 4 tablespoons Unsalted butter, melted
- ½ cup Sugar
- 1 tablespoon Instant yeast
- ¼ teaspoon Salt
- 2 Large eggs, beaten
- 1 ½ cups Whole milk, room temperature
- Egg wash
- 1 Large egg, beaten
- 1 tablespoon Whole milk
Honey Glaze
- 2 tablespoons Honey
- 2 tablespoons Unsalted butter, melted
Instructions
- In a large mixing bowl. Combine flour, sugar, yeast, salt, and eggs.
- In another small mixing bowl, combine milk and melted butter.
- Make sure the temperatures of both butter and milk are at room temperature or the mixture will immediately solidify.
- Use rubber or wooden spatula, gently fold milk mixture into flour mixture.
- Scrape flour from the sides and bottom of the bowl and mix until the dough comes together and there is no flour left.
- Using your hands (lightly floured), spatula or plastic bowl scraper to gently fold the edges of the dough toward the middle, a few times, until a smooth ball formed.
- Flip the dough seam side down. Carefully transfer it to a clean, lightly greased mixing bowl to proof.
- Cover mixing bowl tightly with plastic wrap and let it rise from 1.5 hours to 2 hours or until it doubles in size. Don’t rush this process, the dough needs time to reach its sufficient rise.
- When the dough is ready, carefully transfer it to a lightly-floured counter.
- Divide the dough into 4-oz-ball, approximately 8 balls.
- Work with 1 small dough ball at a time while covering the remaining dough with plastic wrap or a damp towel.
- Flour your hands and lightly press the dough to the surface. Then pick up the edges and fold them toward the center until a ball shape is formed.
- Flip the ball seam side down and use 1 hand or both of your hands to drag in small circles until the dough is perfectly round and smooth.
- Transfer the shaped dough on a lightly greased 10 inch cast iron skillet, seam side down.
- Repeat with remaining dough balls.
- Arrange the rolls nicely on the skillet and lightly cover with plastic. Let them rise for an hour or doubled in size (don’t let them rise above the rim of the skillet).
- Pre-heat oven to 350F.
- Prepare the egg wash by whisking together the egg and milk.
- Gently brush dinner rolls with egg wash and bake for 25 to 30 minutes, rotating the skillet half way. Dinner rolls should have a deep golden brown crust.
- Remove from oven and allow to cool in the skillet for 10 to 20 minutes.
- Then remove them from the skillet and put on a clean surface.
- While rolls are cooling, prepare the honey mixture by combining honey and melted butter. Stir until smooth.
- Lightly brush the rolls with honey mixture and allow to cool completely, approximately one hour, before serving.
Expert Tips
- Cinnamon Honey Butter: Serve these rolls with this delicious cinnamon honey butter for an extra treat for the bread rolls.
- More Uses: Don’t limit yourself to dinner buns. This dough is versatile and great for making pizza and focaccia too.
- Oven Thermometer: Invest in an oven thermometer to ensure your oven cooks at the correct temperature for perfect results when you make these rolls.
- Yeast: Use fresh yeast when you make the dough. This will help you make the best recipe for homemade rolls. Bad yeast may take the rolls longer to rise or may not rise at all.



These no knead dinner rolls were so much less intimidating. And they turned out great. Light and fully!
This is very delicious! Thanks for sharing this dinner rolls recipe! very easy and tasty!
These remind me of the ones that my grandma use to make for Sunday supper. Thank you for sharing it!