


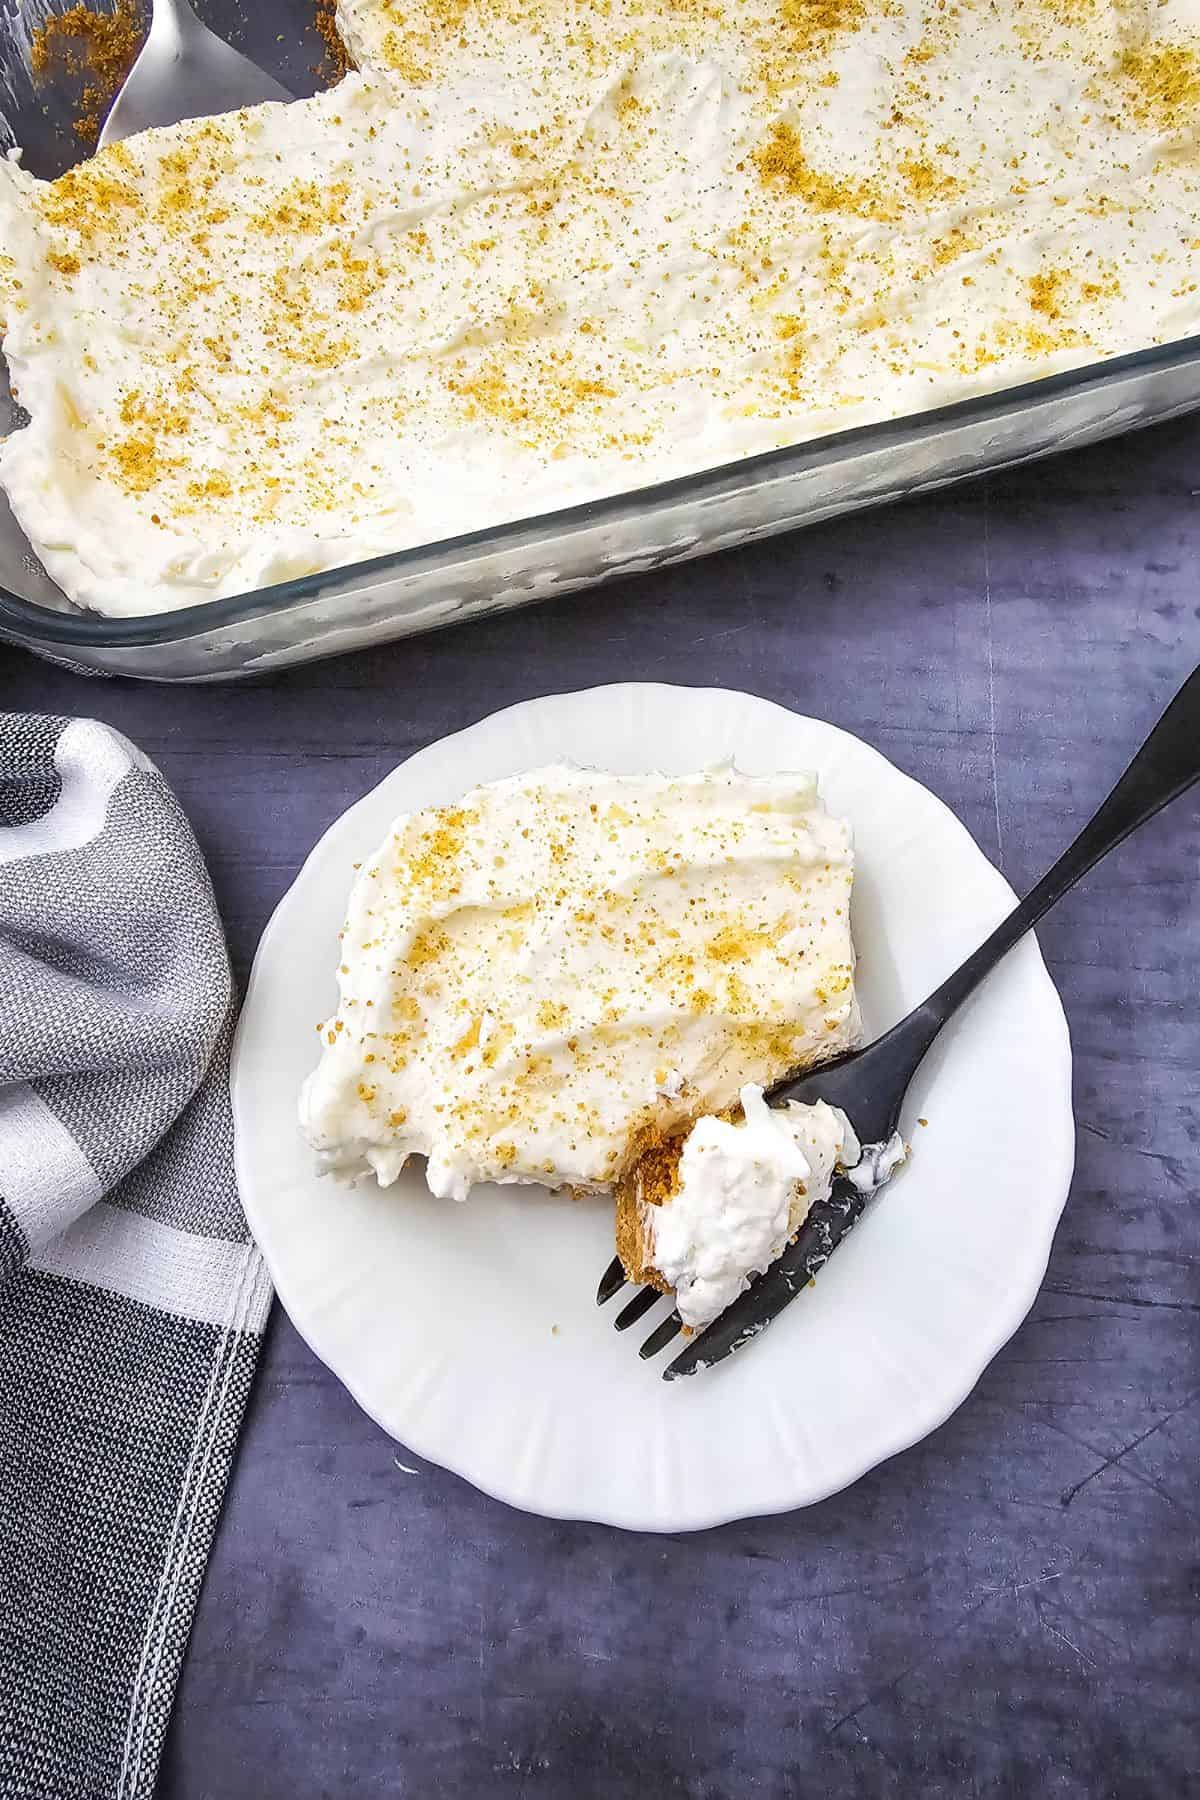
My Pineapple Dream Dessert is quick, creamy and yes dreamy. With layers of sweet crushed pineapple, fluffy whipped cream and tangy cream cheese on a buttery graham cracker crust. No baking needed. It’s perfect for hot summer evenings, potlucks, or anytime you want a fuss-free dessert that wows.
If you want delicious dessert options that do not require baking, then you have to try my no bake eclair cake and my banana no bake cheesecake.

SAVE THIS RECIPE!
Enter your email below and we’ll send this recipe straight to your inbox.
Why this Pineapple Dream Dessert Recipe is a Keeper
I love this recipe because it’s a quick and easy, no-bake dessert. It’s a great recipe to make for a potluck dessert and it’s super customizable.
- Effortless Preparation: Many versions are no-bake, requiring minimal kitchen skills and oven time. Even recipes with a baked crust are still relatively simple.
- Refreshing & Light: The combination of creamy layers and tangy pineapple creates a light, cool, and incredibly refreshing dessert, perfect for ending any meal.
- Crowd-Pleaser: Its sweet and fruity profile appeals to a wide range of palates, making it a guaranteed hit at any gathering.
- Make-Ahead Friendly: It requires chilling time, making it an ideal dessert to prepare in advance, freeing up your time on the day of an event.
- Versatile: It’s easily adaptable to different tastes and dietary needs with various crust and filling options.
Can I Use Fresh Pineapple for this No-Bake Dessert?

Yes! Just pat dry to avoid adding any unnecessary pineapple juice.
Pro Tip for No Bake Pineapple Dessert
Use a fine-mesh strainer and press gently with the back of a spoon to extract as much liquid as possible from the pineapple.
Ingredient Notes to Make Pineapple Dream
You only need a few easy-to-find ingredients for this easy pineapple dessert, many of which you probably have in your kitchen already. It will quickly become your favorite dessert.
Get the full printable recipe with specific measurements and directions in the recipe card below.

- Cream Cheese: Softened cream cheese blends easily to make the cream cheese mixture base for your no-bake pineapple dream dessert.
- Canned Pineapple: I like to use crushed pineapple instead of pineapple chunks or pineapple tidbits when I make this no bake pineapple cheesecake because it can be distributed more evenly.
- Powdered Sugar: Use powdered sugar instead of granulated sugar because it blends much easier.
Variations and Substitutions for Crushed Pineapple Cake
Use different ingredients to substitute or experiment with flavors to make your own unique pineapple lush no bake dessert.
- Shortbread Cookies: Crushed shortbread cookies offer a buttery, crumbly base.
- Vanilla Wafers or Golden Oreos: Provide a slightly different flavor and texture.
- Nuts: Some light and fluffy pineapple and cool whip recipes incorporate ground nuts like macadamia nuts into the crust for added flavor and crunch.
- Pudding: Instant vanilla pudding mix is frequently used, sometimes mixed directly with the crushed pineapple and its juice, which helps it set. Other pudding flavors like coconut or cheesecake could also be used.
- Whipped Topping: Feel free to make your own homemade stabilized whipped cream. Add some pineapple extract to get a pineapple flavor whipped cream.
- Coconut: Shredded coconut, especially toasted, can be added to the filling or as a topping for a tropical flair. Cream of coconut can also be used in some variations.
- Marshmallows: Mini marshmallows can be folded into the filling for a fluffier texture.
- Maraschino Cherries: Often used as a colorful garnish or mixed in for a “fruit salad” variation of this summer dessert.
- Other Fruit: While pineapple is key, some variations incorporate other fruits like mandarin oranges, strawberries, or even mango for different flavor profiles. Be mindful of fruit acidity affecting pudding/gelatin setting.
How to Make Pineapple Dream Dessert
Make this recipe in just 3 easy to follow steps. This creamy no-bake pineapple cheesecake is so easy and delicious, I come back to it every summer.
Get the full printable recipe with specific measurements and directions in the recipe card below.

- Make the Crust: Mix together the melted butter and graham cracker crumbs. Press the crumb mixture into the bottom of the baking dish. Let chill.
- Make the Pineapple Filling: Use a mixer to beat the cream cheese and butter together. Add the powdered sugar and beat until well combined. Fold in the drained pineapple and stir in cool whip.
- Spread and Chill: Spread the pineapple mixture over the graham cracker crust. Refrigerate for at least 4 hours.

Prep Ahead Suggestions for No Bake Pineapple Dream Dessert
Prepping ahead of time can really help to save time and kitchen space if hosting a party.
- Full Assembly: You can assemble the entire dessert the day before serving. Keep this delicious pineapple whipped cream dessert refrigerated until ready to serve.
- Crush Graham Crackers: Crush graham crackers or cookies in advance and store them in an airtight container.
- Drain Fruit: Drain the crushed pineapple ahead of time.
- Cream Cheese: Softened cream cheese can be prepared a bit early, but mix it with other ingredients just before assembly.
How to Store and Use Leftover Pineapple Delight
- Store: Keep pineapple dream dessert covered tightly with plastic wrap or in an airtight container in the refrigerator for up to 3-4 days. The crust may soften slightly over time, but the flavor will remain delicious.
- Use Leftovers: Enjoy leftovers straight from the fridge! If you have very small portions left, you could consider crumbling them over ice cream or blending them into a milkshake for a different treat, though this is less common as the dessert usually disappears quickly.
Common Questions About This No-Bake Pineapple Recipe
Yes! Swap half of the cream cheese for mascarpone or Greek yogurt for a tangier, lighter result.
Sure. You can use less powdered sugar to cut back on the sweetness.
Expert Tips for Delicious Pineapple Recipe
- Drain Pineapple Thoroughly: This is crucial for crushed pineapple recipes! Excess liquid from the crushed pineapple can make your dessert watery and prevent it from setting properly. Press out as much juice as possible.
- Soften Cream Cheese: Ensure your cream cheese is at room temperature before mixing to prevent lumps and achieve a smooth, creamy texture.
- Chill Time is Key: Don’t rush the chilling process. Adequate time in the refrigerator allows all the layers to set firmly and for the flavors to meld beautifully.
- Even Layers: Spread each layer evenly for a visually appealing and balanced pineapple cream cheese dessert.
- Garnish: A sprinkle of reserved crumbs, toasted coconut, or a few maraschino cherries can add a nice finishing touch to the pineapple dream cake.
- Stabilize Homemade Whipped Cream: If using homemade whipped cream instead of Cool Whip, consider stabilizing it with a little unflavored gelatin or cornstarch to help it hold its shape longer and prevent weeping.
- Serve Crushed Pineapple Dessert: Serve this fluffy dessert with No Bake Strawberry Cheesecake, Icebox Lemon Cake or Chocolate Covered Pineapple.
More Recipes You Might Like


SAVE THIS RECIPE!
Enter your email below and we’ll send this recipe straight to your inbox.

No‑Bake Pineapple Dream Dessert
SAVE THIS RECIPE!
Ingredients
- 2 ½ cups Graham cracker crumbs, divided
- ½ cup Unsalted butter, melted
- 8 ounces Cream cheese, softened, 1 (8 ounce) package
- ½ cup Unsalted butter, softened
- 2 cups Powdered sugar
- 20 ounces Crushed pineapple, well drained, 1 (20 ounce) can
- 8 ounces Frozen whipped topping, thawed
Instructions
- In a medium bowl, combine 2 cups of the graham cracker crumbs and the melted butter until evenly moistened.
- Press the mixture firmly into the bottom of a 9×13-inch baking dish to form an even crust.
- Refrigerate the crust for 10 minutes.
- In a large mixing bowl, beat the cream cheese and softened butter until smooth.
- Add the powdered sugar and beat until fully combined.
- Fold in the well-drained crushed pineapple.
- Gently fold in the whipped topping until the mixture is light and evenly combined.
- Spread the filling evenly over the chilled crust.
- Sprinkle the remaining ½ cup graham cracker crumbs over the top.
- Cover and refrigerate for at least 4 hours before serving.
Christina’s Notes
Homemade graham cracker crumbs provide the best flavor and texture.
For an extra-pretty presentation, garnish with additional whipped topping before serving.
This dessert can be prepared the night before serving.
Store covered in the refrigerator for up to 4 days.
Do not freeze, as the filling may separate after thawing.
Reserve the pineapple juice for smoothies, mocktails, or baking recipes.
- Scale the recipe: Simply adjust the serving size in the recipe card and the ingredients will update automatically.
- Make your own All Purpose Seasoning: When a recipe calls for All Purpose Seasoning, you can use my homemade All Purpose Seasoning recipe or substitute salt and pepper to taste.
- Meat doneness: I always use a meat thermometer to test for doneness when cooking meat.
- Use unsalted butter: I use unsalted butter so I can control the salt level in the recipe.
- Preheat the oven: Unless otherwise noted, always preheat your oven before baking.
For more helpful information about this recipe, such as variations, substitutions and other pro-tips, check out the blog post.