


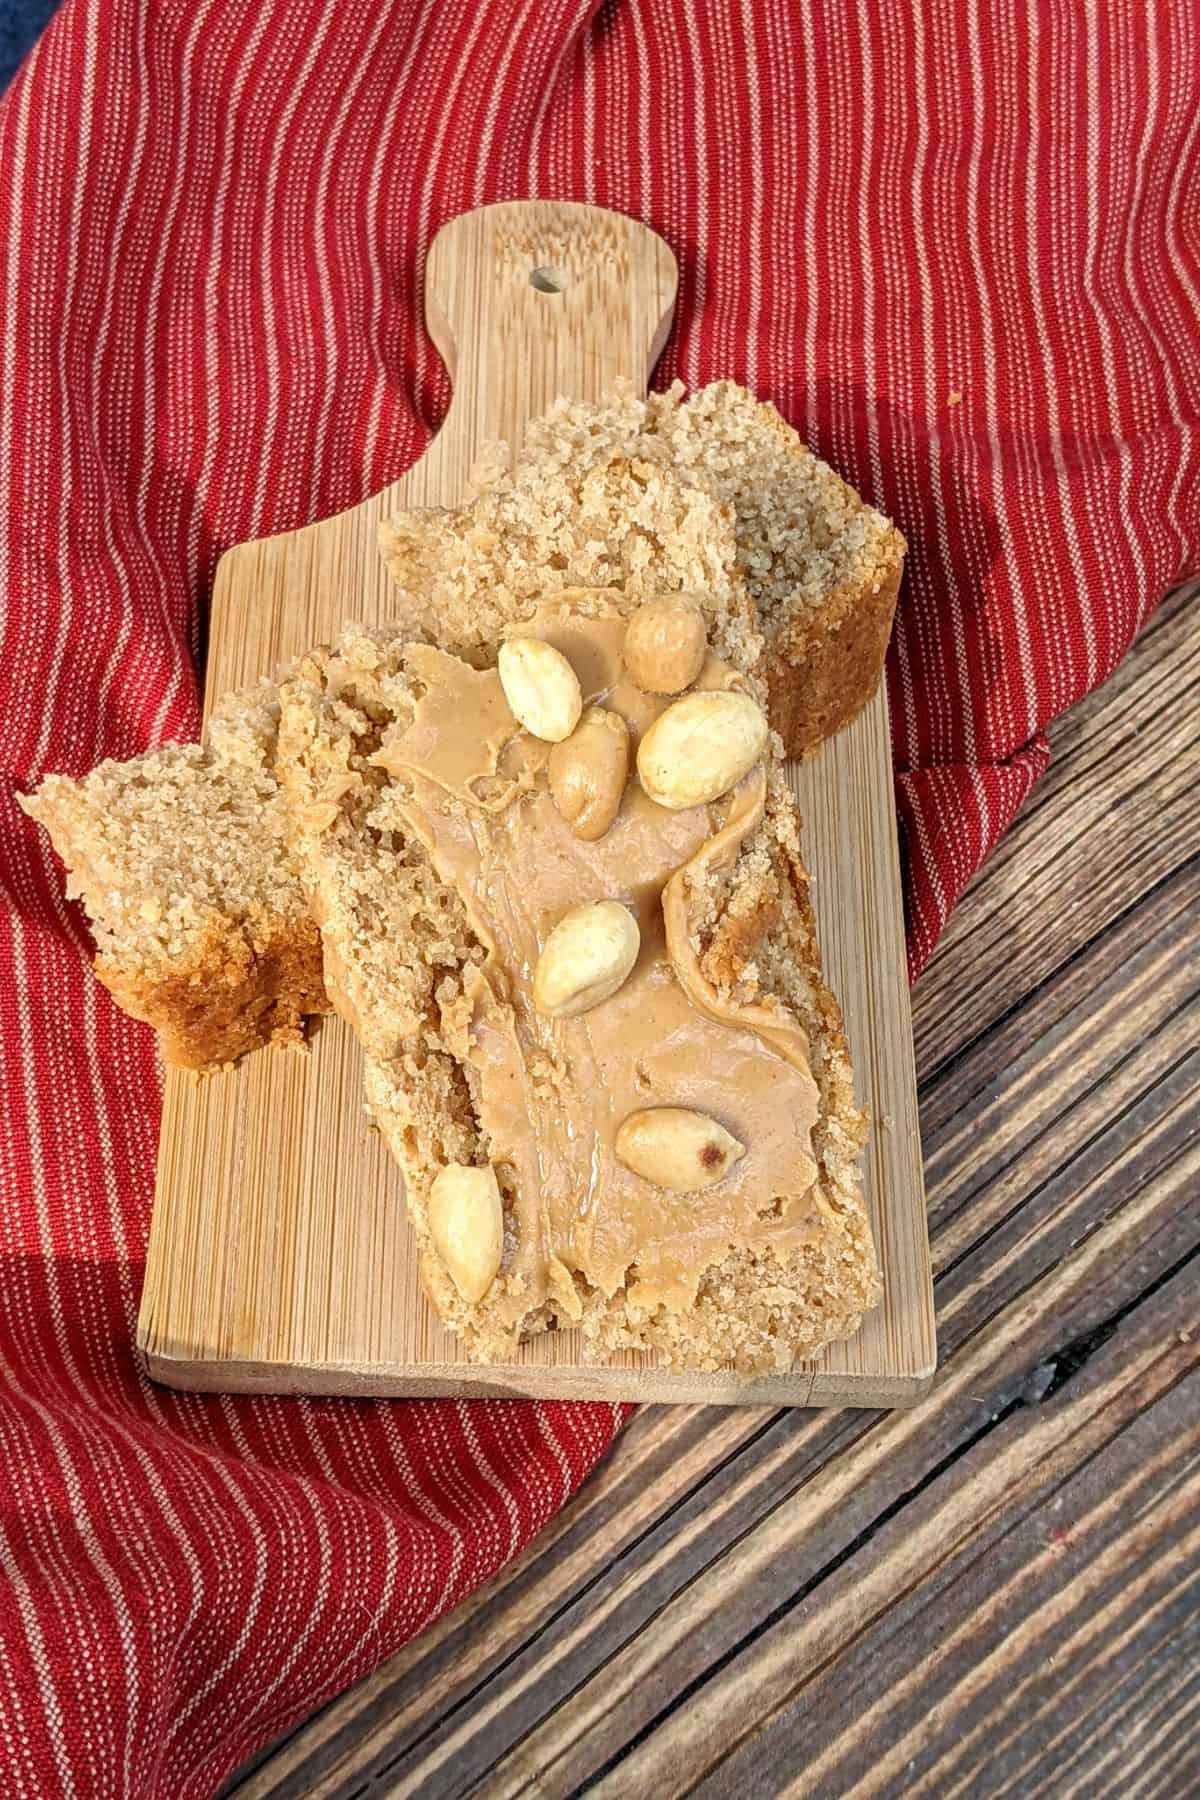
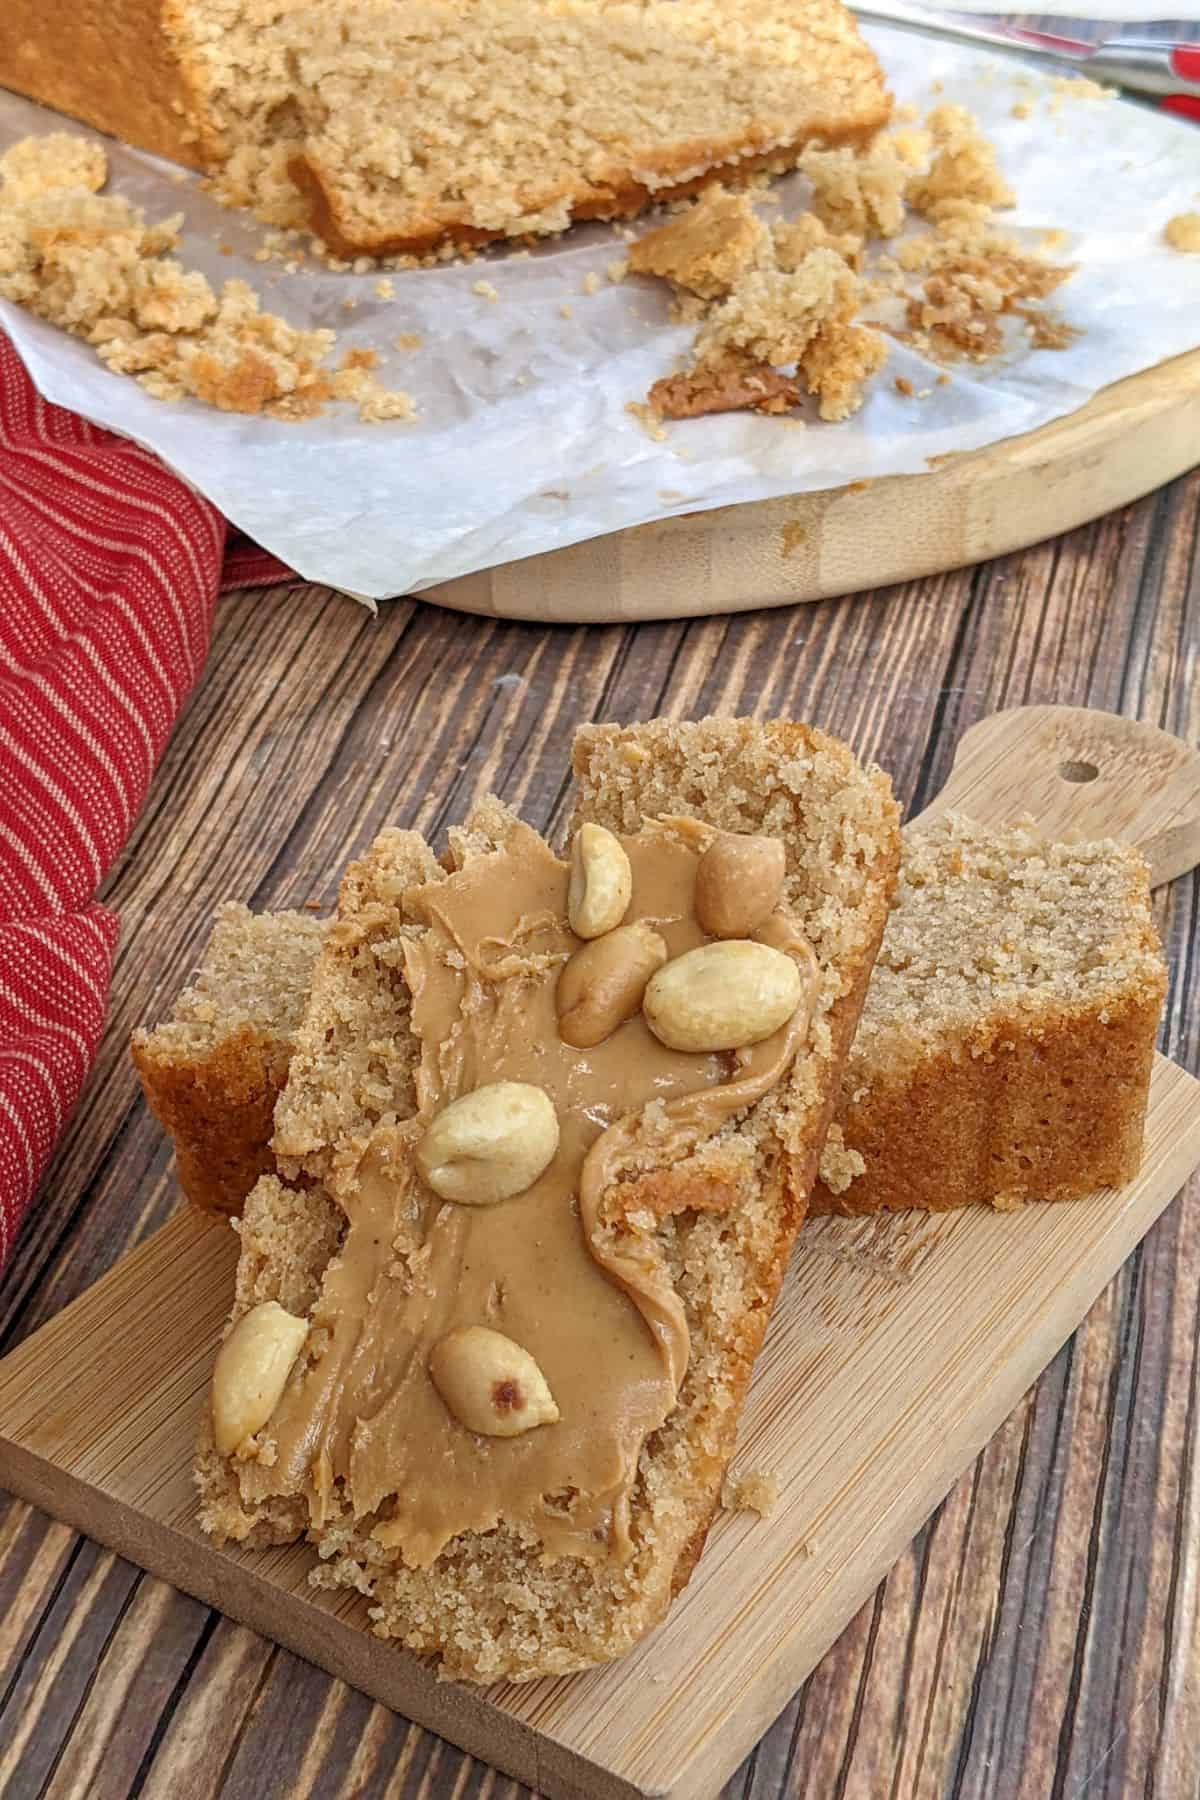
Depression Era Peanut Butter Bread is one of those recipes that instantly transports you to a time when home cooks relied on creativity, not abundance. It’s nutty, sturdy, and deeply comforting. It uses pantry ingredients and is incredibly simple to make this original recipe.
I love a quick bread that you can use as breakfast or a delicious snack. Try my easy English Muffins Bread and also my Banana Bread with Chocolate Chips.

SAVE THIS RECIPE!
Enter your email below and we’ll send this recipe straight to your inbox.
Why this 1932 Peanut Butter Bread Recipe is a Keeper
I love this easy peanut butter bread recipe because it’s quick, takes minimal ingredients and is incredibly delicious. It’s a great recipe to add to a go-to dinner recipe cookbook.
- Simple Pantry Ingredients: Easy quick bread is made with simple ingredients you probably already have.
- Beginner Friendly: The original peanut butter recipe requires no yeast and no complicated techniques.
- Rich Peanut Butter Flavor: Every slice has a warm, lightly sweet, nutty taste.
- Classic Recipe: A Depression-era favorite that still holds up today, just like my Zucchini Bread and my Crock Pot Salisbury Steak.
Why is it Called Depression Era Peanut Butter Bread?
It’s called “Depression Era” bread because it’s a favorite from 1932. It was a great quick-bread when there wasn’t a reliable supply of yeast and eggs.
Pro Tip For This Easy Recipe
Use creamy peanut butter for the smoothest texture. Natural peanut butter can make the bread slightly denser..
Ingredient Notes for the Best Peanut Butter Bread
You only need flour and a few pantry ingredients to make this easy peanut butter bread.
This is an overview of key ingredients. Get the full printable recipe with specific measurements and directions in the recipe card below.

- Peanut Butter: You can use any type peanut butter you’d like. However, if you use natural peanut butter, the mixture will be runnier.
- Baking Powder: It is important to use baking powder because helps baked goods in rising to get a fluffy texture.
- Salt: You will need salt to activate the baking powder and to get the bread to rise properly.
Variations and Substitutions for this Depression Era Recipe
Feel free to switch up the ingredients in this depression-era recipe to try different variations.
➡️ Peanut Butter Chocolate Chip Bread: Fold chocolate chips into the batter for a peanut butter chocolate loaf.
➡️ Add Banana: Mix mashed banana into the peanut butter bread batter for a peanut butter banana bread twist.
➡️ Use Crunchy Peanut Butter: Chunky peanut butter adds texture to the bread.
➡️ Add Nuts: Stir chopped peanuts or walnuts into the batter.
Special Equipment Needed/Kitchen Tools To Make It Easier
This recipe doesn’t require anything super fancy, but you will need a loaf pan. A mixing bowl and some measuring spoons.
- Loaf Pan: A standard loaf pan helps the bread bake evenly and hold its shape.
How to Make My Peanut Butter Bread Recipe
This is one of the easiest and simple to make recipes ever. It comes together in 3 steps, and is great if you’re looking to try something new.
These are just highlights. Get the full printable recipe with specific measurements and directions in the recipe card below.
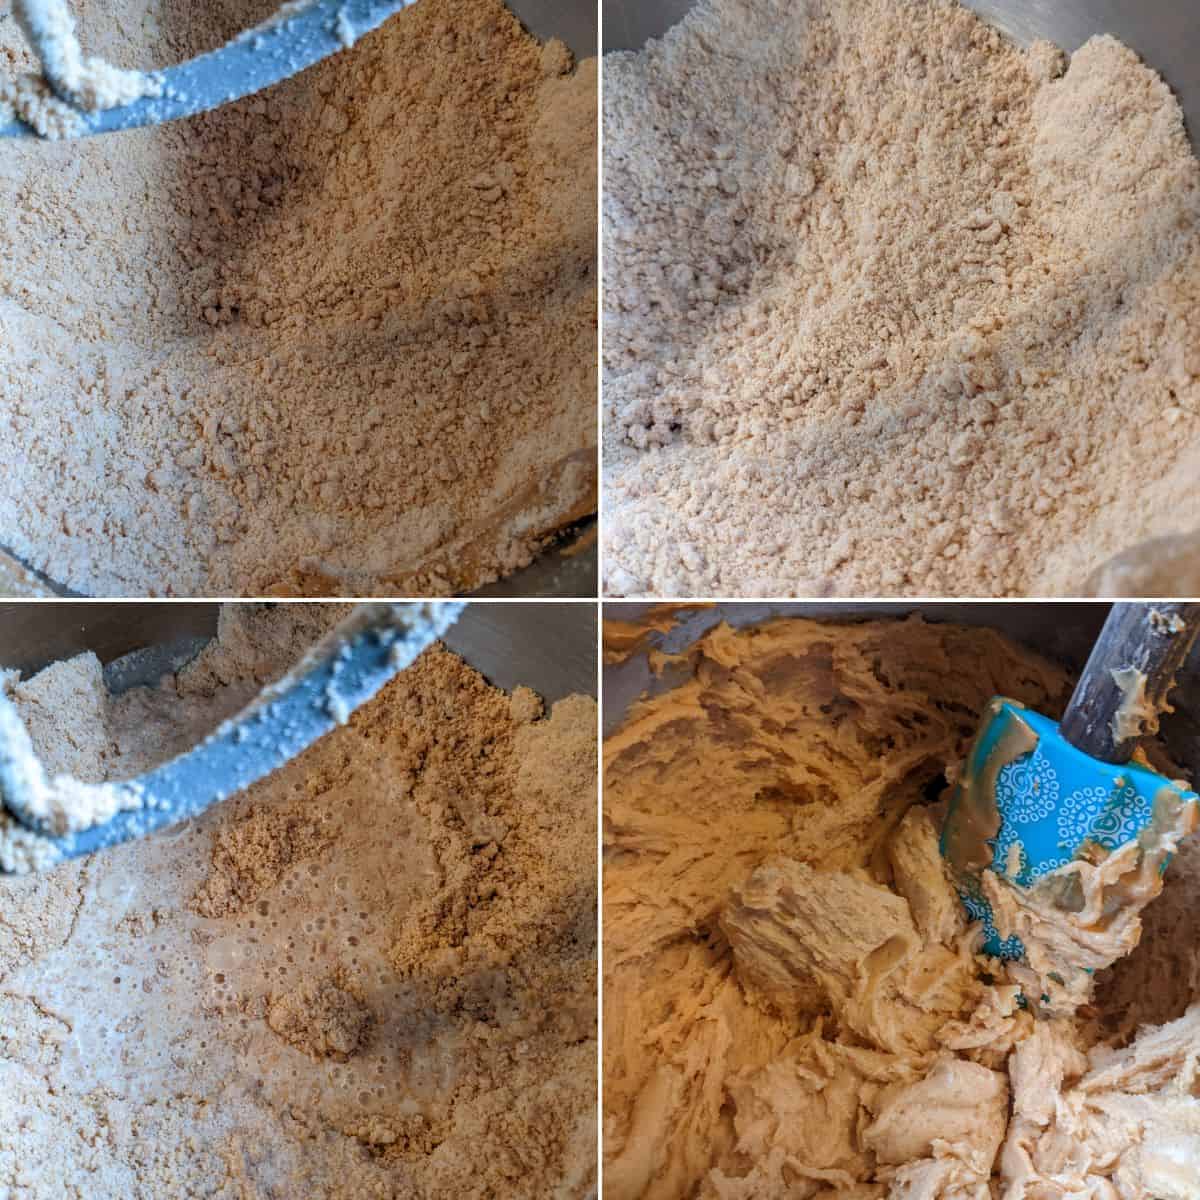
- Mix the Bread Batter: Mix flour, sugar, baking powder and salt in a bowl. Then, stir in the wet ingredients.
- Bake the Bread: Pour the peanut butter mixture into a loaf pan lined with parchment paper. Bake in a preheated oven for 50 minutes to an hour, then check for doneness by inserting a toothpick into the middle.
- Let Cool: When done, remove from oven and allow the bread to cool in the pan for 15 minutes. Then, remove the brad from the pan and allow to cool for another 15 minutes before slicing.

Prep Ahead and Short Cut Tips for this Peanut Butter Recipe
Prepare this recipe ahead of time to enjoy it when you’re on-the-go.
➡️ Measure Dry Ingredients Early: Combine dry ingredients in advance and store in a sealed container until you’re ready to add the regular peanut butter and whole milk.
➡️ Make the Batter Quickly: Quick breads mix together in just a few minutes.
➡️ Bake Ahead: This bread keeps well and tastes great the next day.
Alternate Cooking Methods for this Depression Era Food
Alternatively, you can make this recipe into individual servings or tro a delicious muffin.
- Mini Loaves: Divide batter into mini loaf pans for smaller portions.
- Muffins: Bake the batter in muffin tins for individual servings.
Can I Use a Different Nut Butter for this Vintage Bread?
You can absolutely swap in another nut butter for Depression‑Era Peanut Butter Bread, and the best results come from choosing one with a similar thickness and fat content to peanut butter. Almond butter and cashew butter are the closest matches. Sunflower seed butter and hazelnut butter also work.
How to Store, Reheat,Freeze and Use Leftovers
- Storing: Store at room temperature in an airtight container for up to three days.
- Freeze: Let the bread cool completely, wrap it tightly, and freeze for up to three months. Thaw overnight before serving.
- Reheating: Warm slices in the microwave or toaster oven.
- Using Leftovers: It makes great french toast. Even the crumbs are useful, sprinkle them over oatmeal, yogurt, or ice cream for a crunchy, peanut‑scented topping. It’s one of those leftovers that never feels like leftovers once you give it a little love.
Expert Tips for Making Homemade Peanut Butter Bread
➡️ Do Not Overmix: Stir the batter just until combined to keep the bread tender.
➡️ Check Early: Start checking if the bread is done a few minutes before the suggested baking time.
➡️ Cool Before Slicing: Use a wire rack to cool the bread completely so the texture sets properly.
➡️ Grease the Pan Well: This helps prevent sticking.
We Recommend You Try These


SAVE THIS RECIPE!
Enter your email below and we’ll send this recipe straight to your inbox.

Depression Era Peanut Butter Bread
SAVE THIS RECIPE!
Ingredients
- 2 cups All purpose flour
- ½ cup Granulated sugar
- 4 teaspoons Baking powder
- ¼ teaspoon Salt, a pinch
- 1 ½ cups Creamy peanut butter
- 1 ⅓ cups Milk
Instructions
- Preheat the oven to 330℉ and line a bread pan with parchment paper.
- Combine flour, sugar, baking powder and salt in a mixing bowl. Stir to combine.
- Add peanut butter and milk. Mix well.
- Pour the batter into the prepared bread pan and bake.
- After one hour, poke the center of the bread with a toothpick to test for doneness. If the toothpick comes out clean, the bread is ready.
- If it has batter or crumbs clinging to it, allow the bread to bake for an additional 15 minutes.
- Allow the bread to cool in the pan for 15 minutes.
- Pop the bread out of the pan and allow to cool for an additional 15 minutes before slicing.
Christina’s Notes
- This Recipe Can be Doubled: To double this depression era recipe, increase ingredients proportionally and split between 2 loaf pans.
- Chocolate Chips: For a decadent addition, add chocolate chips, peanut butter chips, or white chocolate chips.
- Icing: You would like you could make a peanut butter or chocolate icing to top off this peanut butter bread.
- Jelly Swirl: Use a jelly or jam to swirl on the top of the batter before baking, raspberry or strawberry would be best!
- Scale the recipe: Simply adjust the serving size in the recipe card and the ingredients will update automatically.
- Make your own All Purpose Seasoning: When a recipe calls for All Purpose Seasoning, you can use my homemade All Purpose Seasoning recipe or substitute salt and pepper to taste.
- Meat doneness: I always use a meat thermometer to test for doneness when cooking meat.
- Use unsalted butter: I use unsalted butter so I can control the salt level in the recipe.
- Preheat the oven: Unless otherwise noted, always preheat your oven before baking.
For more helpful information about this recipe, such as variations, substitutions and other pro-tips, check out the blog post.
can this be made in a bread machine?
Saw this on tiktok it is surprisingly good